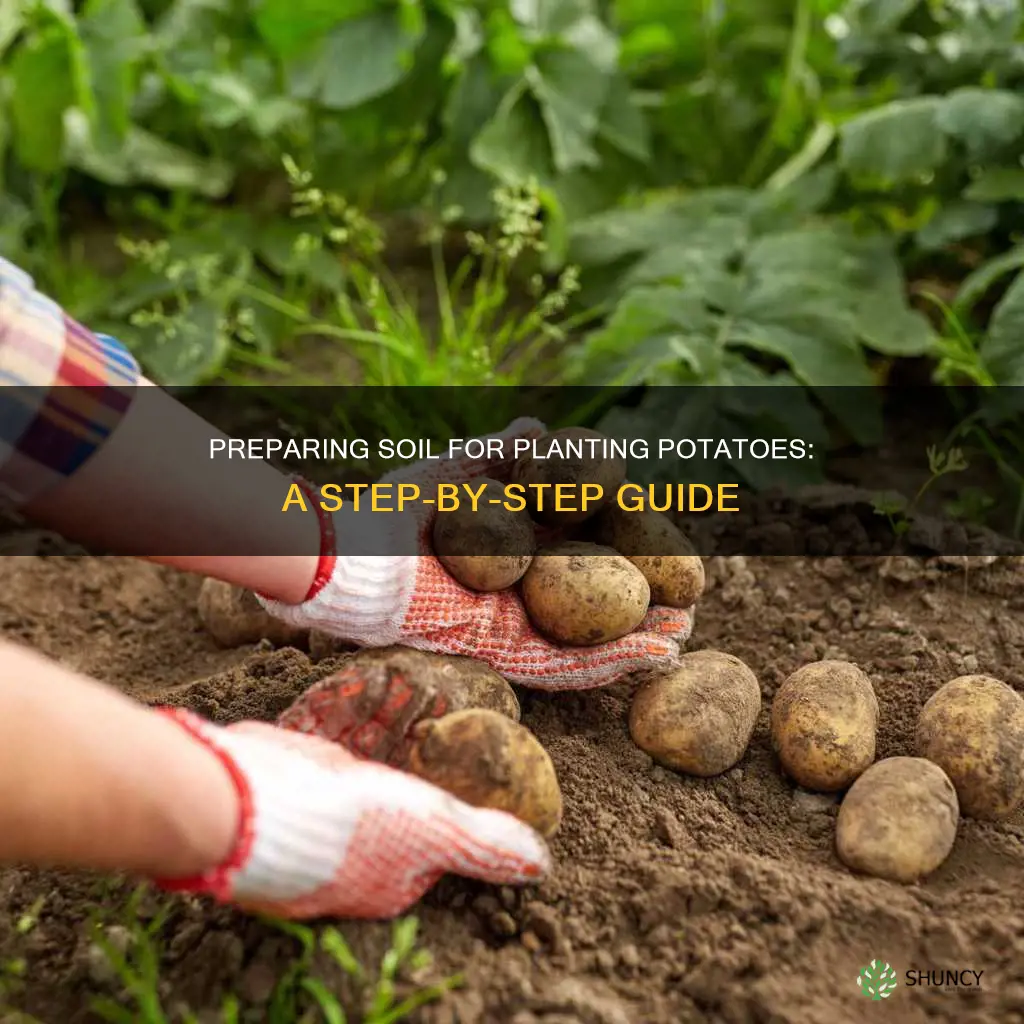
To make soil for potatoes, use loose, well-drained soil with plenty of organic matter and a pH of about 5.0 to 6.5. Mix in finished compost, break up hard clumps, remove stones, and avoid fresh manure or soggy ground. Good soil lets potato roots spread and tubers grow with less risk of rot and poor shape.
Across the United States, potatoes grow in home gardens, raised beds, grow bags, and large containers. The right soil can make a big difference, whether you garden in the cool springs of Maine or the warmer growing regions of the Pacific Northwest. Start by checking the soil you already have before buying new materials.
Potatoes need more than rich dirt. Their roots need air, water, and room to spread as underground tubers form. Heavy clay may hold too much water, while very sandy soil can dry out fast. A few simple changes can help create a better balance.
This guide explains how to prepare garden soil for potatoes, choose compost, check pH, and build a suitable mix for containers. It also covers common mistakes, fertilizer choices, and signs that your soil needs more work before planting.
Source: thegardenfixes.com
What Is the Best Soil for Potatoes?
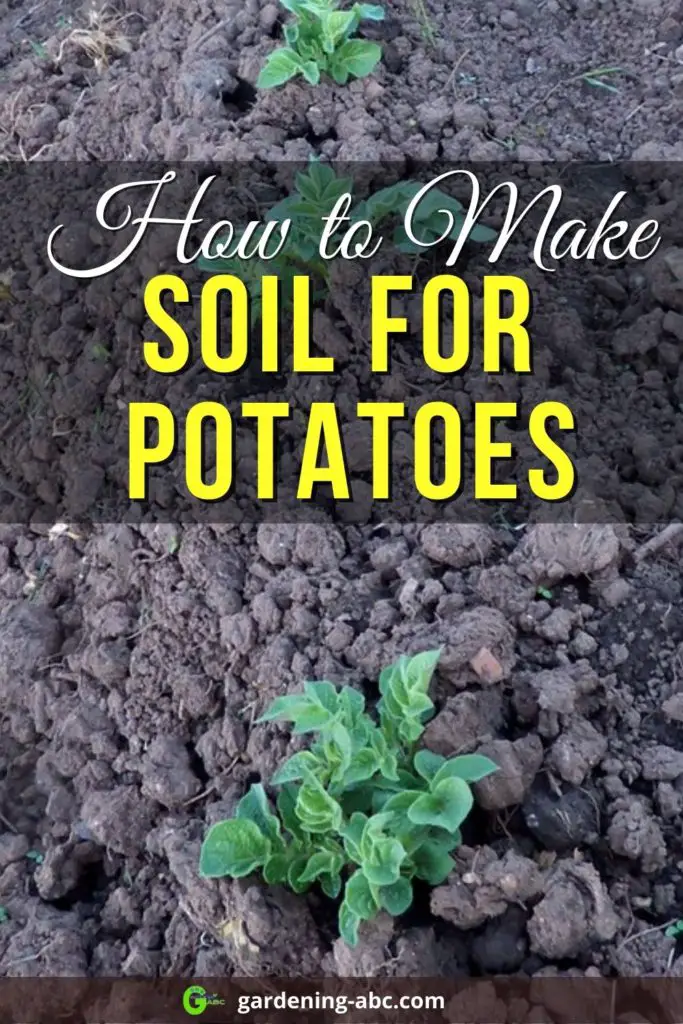
The best soil for potatoes is loose, fertile, slightly acidic, and well drained. A sandy loam or loam soil often works well because it holds enough water for plant growth without staying soggy for long periods. Roots can spread through it, and developing tubers have room to grow.
Potatoes can grow in several soil types, but each type has limits. Clay soil may become hard when dry and sticky when wet. Sandy soil drains quickly and may lose nutrients more easily. Soil with a good balance of sand, silt, clay, and organic matter is often easier to manage.
Texture also affects the shape and ease of harvest. Large stones, hard clods, and compacted layers can restrict tuber growth. Removing obstacles and improving soil structure can help produce more evenly shaped potatoes, although variety, weather, water, and disease also affect the final crop.
Source: a-garden-diary.com
Loose texture
Soil should crumble when handled rather than form hard blocks or thick, sticky clumps.
Good drainage
Water should move through the root zone instead of collecting around the plants for long periods.
Steady moisture
The soil should retain enough water to support growth without becoming waterlogged.
Useful organic matter
Finished compost can improve structure, water retention, and nutrient supply.
Why Soil Texture Matters
Potato tubers form on underground stems called stolons. Loose soil gives these stems room to spread and allows tubers to enlarge. Compacted soil can restrict growth and make digging harder at harvest time.
A simple test can help you judge texture. Take a handful of moist soil and squeeze it gently. Soil that crumbles with light pressure is often easier to work than soil that stays in a dense, sticky ball. This test is only a rough guide, so use a soil test and observe drainage when possible.
If the soil is heavy clay
Add organic matter and improve drainage across the bed. Avoid working clay when it is wet, as this can increase compaction.
If the soil is very sandy
Blend in finished compost and use mulch to help retain moisture and nutrients.
How Much Soil Depth Do Potatoes Need?
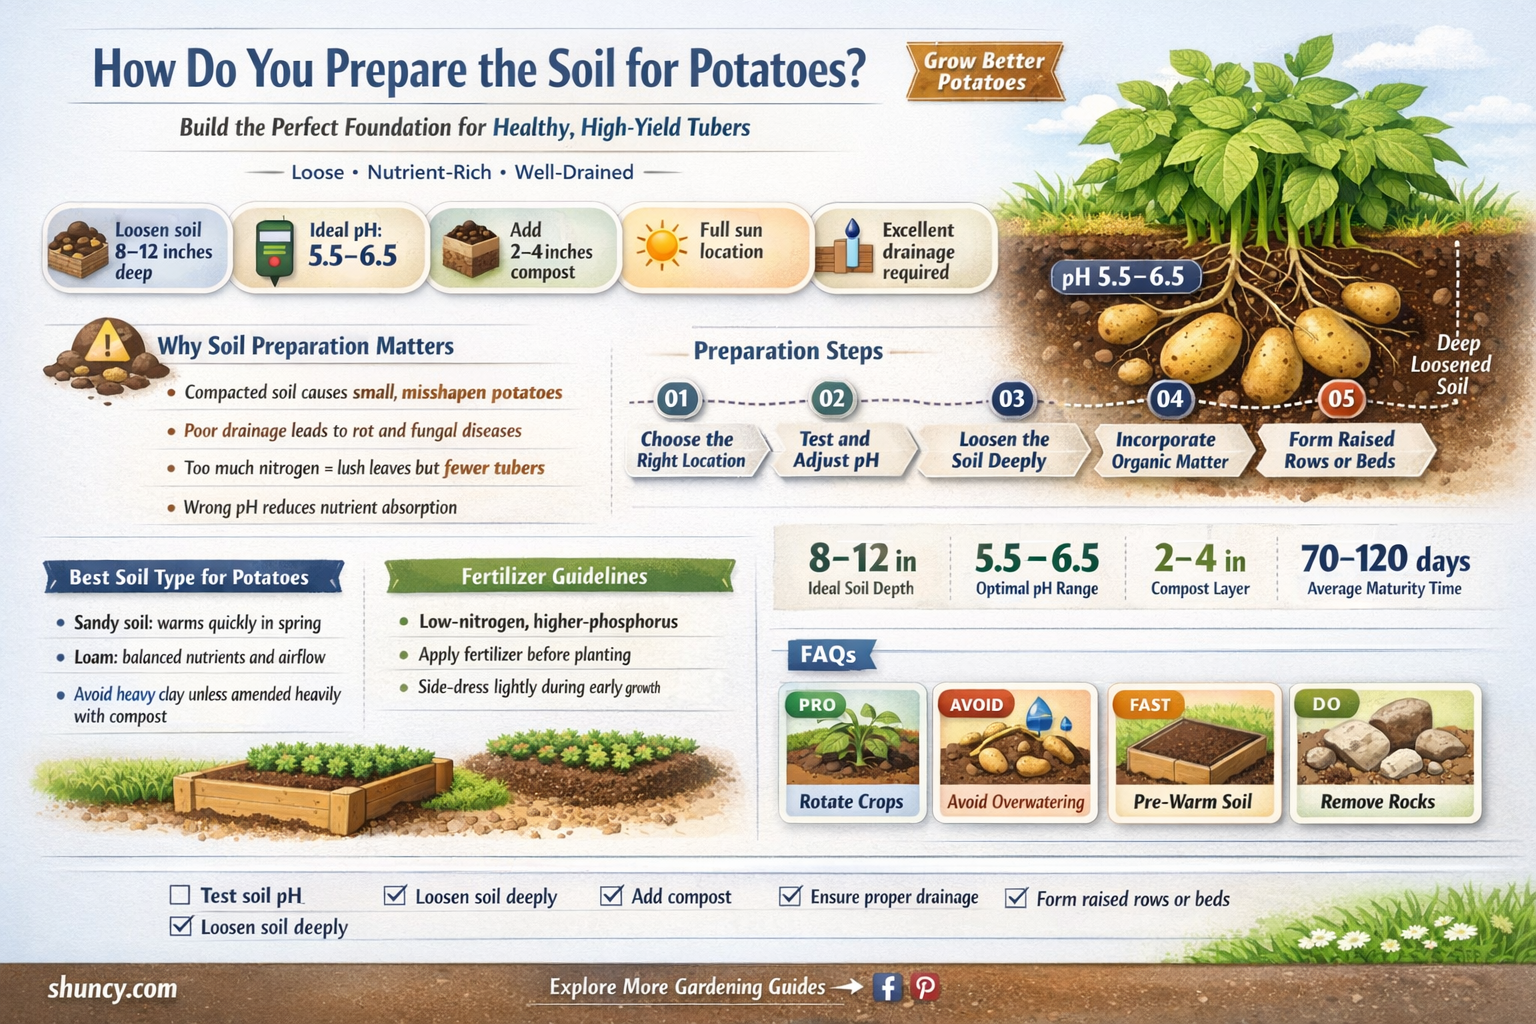
For an in-ground bed, loosen the soil to roughly 8 to 12 inches where practical. This gives roots room to develop and creates a workable zone for planting. The tubers will also need loose soil or added soil around the stems as the plants grow.
Raised beds and containers need enough depth and volume for roots and tubers to develop. A grow bag around 12 to 18 inches deep can be useful, though the best size depends on its width, the potato variety, and the number of plants. Do not pack the mix tightly to fit more soil into a container.
Garden beds
Loosen the planting area and remove large stones, weeds, and compacted clods.
Raised beds
Use a deep, loose growing mix with drainage holes or a suitable open base.
Containers
Choose a container with drainage holes and enough room for roots, tubers, and added soil.
What pH Should Potato Soil Have?
Potatoes generally grow well in soil with a pH of about 5.0 to 6.5. Soil pH measures how acidic or alkaline the soil is. It affects the availability of plant nutrients and can influence the risk of common scab, a disease that causes rough, corky patches on potato skins.
A soil pH near 5.0 to 5.5 may help reduce common scab in some conditions, but lowering pH is not a cure for every soil problem. Potato varieties, soil conditions, and the disease organism all matter. A pH that is too low can also reduce the availability of some nutrients and harm plant growth.
Test your soil before adding lime, sulfur, or other materials that change pH. A home test kit can provide a rough estimate, while a laboratory soil test often gives more useful guidance. In the United States, your local Cooperative Extension office may offer soil testing or explain how to submit a sample.
Do not add more acidifying material without checking the test result and local recommendations.
Within a suitable range
Focus on drainage, soil texture, organic matter, and balanced fertility rather than trying to change pH.
Above the recommended range
Use soil-test guidance before applying sulfur or another acidifying amendment. Changes may take time.
How to Test Garden Soil
Collect small samples from several spots in the intended potato bed. Use clean tools and follow the test kit or laboratory directions for sampling depth and mixing. Avoid sampling directly from a compost pile, fertilizer spill, or recently amended patch.
If you are preparing a large bed, test the growing area rather than relying on the pH of one small handful. Keep a record of the result and any amendments you add. This makes future soil management easier and helps prevent repeated applications that may push pH too far.
Use a clean container
Keep samples free from fertilizer, soil from other beds, and other materials that could affect the result.
Follow the test instructions
Use the correct soil amount and preparation method for the kit or laboratory.
Apply only what is needed
Base pH changes on the test result, soil type, and recommended application rate.
Materials You Need to Make Potato Soil
You can often prepare good potato soil with the ground already in your yard. Finished compost, a garden fork, a shovel, and a soil test are enough for many beds. The goal is to improve the existing soil rather than replace it with a large amount of costly material.
For containers, use a quality potting mix or make a blend from suitable ingredients. Garden soil by itself can become dense in a pot and may drain poorly. A container mix should stay airy while holding enough water for the roots.
Choose clean, mature organic materials. Avoid anything that smells strongly of ammonia or decay, and do not assume that more compost always means better soil. Excessive nutrient levels, especially phosphorus or salts, can create problems.
Source: shuncy.com
Finished compost
Use mature compost that is dark, crumbly, and has an earthy smell. It can improve soil structure and add organic matter.
Existing garden soil
Keep it when the site drains well and has no known contamination or serious soil disease concerns.
Potting mix
Use a mix designed for containers when growing potatoes in pots or grow bags.
Optional drainage and structure materials
Use materials such as coarse horticultural perlite only when suitable for the growing setup and needed to improve the mix.
Basic tools
Gather a garden fork, shovel, rake, gloves, and a clean container for soil samples.
Is Compost Enough for Potato Soil?
Compost can improve poor soil, but it does not solve every problem. It will not fix a high water table or a bed that remains flooded after rain. It also cannot guarantee the correct pH or nutrient balance.
Use compost as an amendment, not as an automatic replacement for all soil. For a typical garden bed, a layer of about 1 to 2 inches can be a reasonable starting point for improving organic matter, but the right amount depends on the existing soil and the compost’s nutrient content. Blend it into the upper soil rather than leaving thick pockets of rich material around seed potatoes.
Good compost
Mature compost is crumbly and earthy, with no strong smell of fresh manure or rotting waste.
Poor compost
Material that is still hot, slimy, or strongly odorous may not be ready to use.
How to Make Soil for Potatoes Step by Step
Prepare the potato bed before planting, when the soil is moist enough to work but not wet. Soil that sticks heavily to tools or smears into a slick layer is too wet to dig. Working it at that point can damage its structure and leave hard clods behind.
The process starts with a site check and ends with a loose, level planting area. Adjust the steps to suit your soil type and the space available. A small container garden needs a different mix from a large in-ground plot.
Source: madrivergarlicgrowers.com
Step 1: Choose the right site
Pick a spot with ample sun and soil that drains well. Avoid low areas where rainwater sits.
Step 2: Clear the bed
Remove weeds, large roots, stones, and plant debris that could obstruct growth.
Step 3: Loosen the soil
Use a garden fork to loosen the planting area without turning wet soil into dense clumps.
Step 4: Add finished compost
Spread a modest layer across the bed and blend it evenly into the upper soil.
Step 5: Check pH and fertility
Use a soil test to decide whether lime, sulfur, or fertilizer is needed.
Step 6: Shape the planting area
Rake the bed into a loose, even surface or prepare a suitable planting trench.
Step 7: Check moisture
The soil should feel moist but should not release water when squeezed.
Step 1: Check Drainage Before Adding Anything
Observe the site after a steady rain. If water remains in the bed for a long time, look for compacted soil, a low spot, or a high water table. Adding compost may improve structure, but it may not correct a deeper drainage problem.
A simple drainage check can help identify obvious trouble. Dig a small test hole, moisten the soil, and observe how water moves through it. Results depend on the test method and recent weather, so use this as a screening check rather than a formal soil assessment.
If the site stays saturated, choose a raised bed or another planting area. Do not put a layer of gravel under the soil in an attempt to fix a poorly drained bed or container. Gravel at the bottom does not reliably improve drainage through the soil above it.
Water drains away
Proceed with soil preparation and keep the bed evenly moist during the growing season.
Water collects in low spots
Improve the site where possible or move potatoes to a raised bed with suitable drainage.
Step 2: Remove Stones and Break Up Compacted Soil
Clear large stones and break apart hard clods before planting. Focus on the soil zone where roots and tubers will grow. Avoid crushing every clod into fine dust, because overly fine soil can compact and form a crust after heavy rain.
Work with a fork when possible. Insert it into the soil and rock it gently to loosen the ground. In clay soil, wait until the ground is damp rather than saturated, and avoid repeated digging that smears the soil.
Remove large obstacles
Pick out rocks, thick roots, and hard debris from the planting zone.
Preserve soil structure
Use gentle loosening instead of repeatedly pulverizing the bed.
Step 3: Mix in Compost
Spread finished compost over the bed and mix it into the upper 6 to 8 inches of soil when the site and soil type allow. Use a modest amount at first, especially if you have not tested nutrient levels. Compost should be spread evenly rather than placed in a thick pocket directly under each seed potato.
Avoid fresh manure. It can supply excessive nitrogen, burn plants, introduce weed seeds or harmful organisms, and increase the risk of certain potato quality problems. If manure is part of your garden plan, use properly composted material and follow local food-safety guidance.
For dense soil
Use finished compost to help create a more workable structure over time.
For sandy soil
Blend in organic matter to help the soil retain water and nutrients.
For already rich soil
Do not add compost automatically. Test first or use a smaller amount if nutrient levels are unknown.
Step 4: Add Fertilizer Only When Needed
Potatoes need nutrients to grow healthy leaves, roots, and tubers. Nitrogen supports leafy growth, phosphorus helps with root development, and potassium plays several roles in plant function and tuber development. The right balance depends on the soil’s existing nutrient levels.
A soil test can guide fertilizer selection and application rates. Too much nitrogen may produce lush tops at the expense of tuber development and can delay maturity. Do not use a high-nitrogen lawn fertilizer as a substitute for a vegetable crop fertilizer without checking its suitability and rate.
If a test is unavailable, follow local Cooperative Extension recommendations for potatoes and your region. Keep fertilizer away from direct contact with seed pieces unless the product label specifically allows that use. Always follow the label rate and instructions.
Test before feeding
Use soil results to guide nutrient additions instead of applying fertilizer by guesswork.
Avoid excess nitrogen
Do not aim for the largest possible leaves. Healthy growth needs a balanced nutrient supply.
Follow the label
Apply the correct amount for the bed area and intended crop.
Step 5: Make the Final Planting Bed
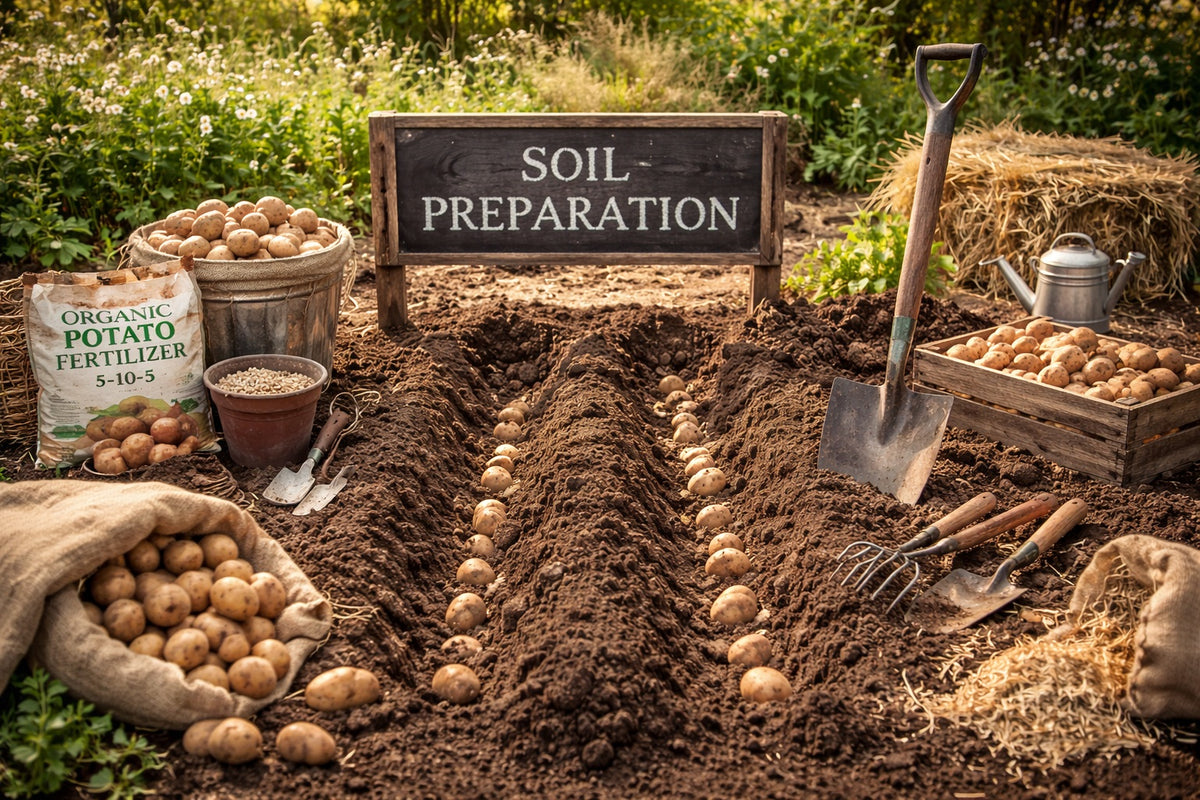
Rake the prepared soil until the surface is reasonably even and loose. Remove any new weeds and large stones. You can plant in rows or in a raised bed, as long as the soil has enough depth and drainage.
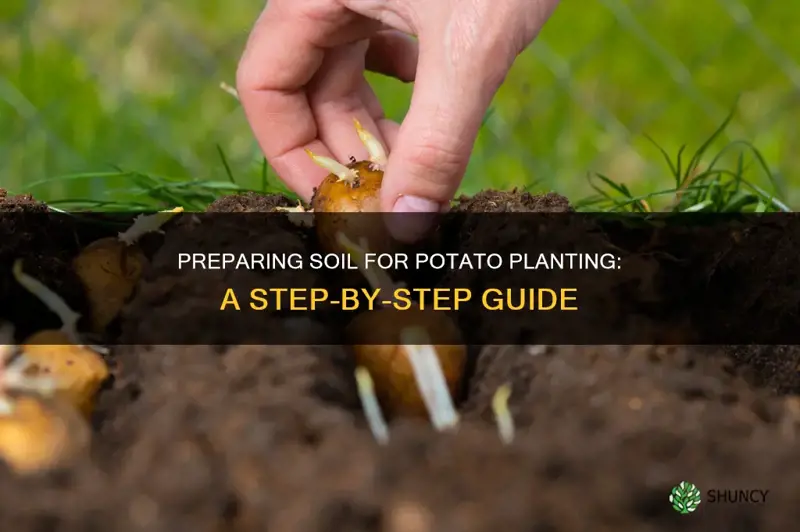
For many garden varieties, planting seed potatoes about 3 to 4 inches deep is a common starting point, but follow the guidance for the variety and growing system. Leave room to add soil or mulch around the stems as plants grow. This helps cover developing tubers and reduces the chance that they will turn green from light exposure.
Use certified seed potatoes when available rather than relying on grocery store potatoes. Store-bought potatoes may be treated to slow sprouting and may carry disease. Cut seed pieces only as recommended for the variety and planting conditions, and allow cut surfaces to dry as advised by a reliable local growing guide.
Keep the soil loose
Avoid walking over the prepared bed or pressing the planting row down hard.
Leave room for hilling
Plan to add soil or suitable mulch as the stems grow.
Plant in suitable weather
Wait until the soil is workable and conditions suit the potato variety and local planting season.
How to Make Soil for Potatoes in Containers
Potatoes can grow well in containers when the mix drains freely and the container holds enough soil for roots and tubers. Use a quality potting mix as the base rather than filling a pot with heavy garden soil. Garden soil can settle, compact, and restrict air movement inside a container.
A simple starting mix for a container is about two parts quality potting mix to one part finished compost by volume. This is a practical starting blend, not a universal formula. Some potting mixes already contain compost or fertilizer, so check the bag and avoid adding too much organic matter or nutrients.
Choose a food-safe container or grow bag with open drainage holes. Make sure excess water can escape freely. A large container can hold more moisture than a small one, so check the soil before watering instead of following a rigid daily schedule.
Source: shuncy.com
Potting mix
Provides a light base designed to support roots in a container.
Finished compost
Adds organic matter and may supply nutrients, depending on its composition.
Suitable container
Needs enough volume for root growth, developing tubers, and later soil additions.
Drainage holes
Allow excess water to leave instead of pooling around the roots.
A Simple Container Soil Mix
For a small home potato crop, combine two parts potting mix with one part finished compost. Stir until the blend looks even, then moisten it lightly before planting. If the potting mix already contains a high level of compost or fertilizer, use less additional compost.
The finished blend should feel light and springy rather than sticky or heavy. Water should pass through it, but the mix should not dry out almost at once. If water runs straight down the sides while the center remains dry, moisten the mix gradually and check whether it has become difficult to wet.
Avoid garden soil alone
It can become dense in a container and may contain weeds or soilborne pests.
Do not fill to the rim
Leave room to add more growing mix around stems as the plants develop.
Check moisture by touch
Water when the mix begins to dry, while avoiding constant saturation.
Should You Put Gravel at the Bottom of a Potato Pot?
No. A gravel layer is not needed for drainage and can reduce the space available for roots. Use a suitable container mix and keep the drainage holes open instead.
Set the container on a surface where excess water can drain away. Empty standing water from trays after watering, and do not let the base remain submerged.
Use open drainage holes
Keep holes clear so water can leave the container.
Choose a suitable mix
A light potting mix provides a more reliable growing medium than a layer of stones.
How to Adjust Soil for Different Garden Conditions
The best way to prepare potato soil depends on what you already have. Clay, sand, compacted ground, and raised beds each need a slightly different approach. Start with the main problem instead of adding several amendments at once.
Good soil preparation is a process. Organic matter can improve structure over time, but drainage, pH, and nutrient levels may need separate attention. A test and a few simple observations are more useful than buying a long list of soil products.
Source: gardening-abc.com
Clay soil
Add suitable finished compost, avoid working the soil when wet, and consider a raised bed if drainage remains poor.
Sandy soil
Add organic matter and plan to check moisture more often during dry weather.
Compacted soil
Loosen the planting zone with a fork and prevent repeated foot traffic over the bed.
Very rich soil
Test nutrient levels before adding more compost or fertilizer.
Poorly drained ground
Choose a better site or build a suitable raised bed rather than relying on fertilizer or compost alone.
Can You Grow Potatoes in Clay Soil?
Yes, potatoes can grow in clay soil if it is managed well, but dense and wet clay can make growing and harvesting harder. Work in finished compost when the soil is not wet, and avoid heavy foot traffic that presses the bed down.
Do not add a small amount of sand to clay as a quick fix. Small amounts of sand mixed with clay can produce a dense, difficult texture rather than a loose bed. If the ground remains wet for long periods, a raised bed or a different site may be the better choice.
Improve gradually
Add organic matter over time and observe whether the soil becomes easier to work.
Protect wet soil
Delay digging after heavy rain until the ground is workable.
Can You Grow Potatoes in Sandy Soil?
Sandy soil can suit potatoes because it drains well and is often easy to dig. The main challenge is that it may dry quickly and lose nutrients through leaching. Adding finished compost can improve its ability to hold moisture and nutrients.
Check the soil during hot, dry weather. Water deeply enough to moisten the active root zone, then allow excess water to drain. A suitable organic mulch can reduce moisture loss, but keep it from becoming a dense, wet layer against the stems.
Build organic matter
Use finished compost in moderate amounts and review soil-test results before adding fertilizer.
Monitor water
Check the soil itself because the surface can look dry while deeper soil remains moist.
Common Soil Mistakes That Can Hurt Potato Growth
Most potato soil problems come from too much water, poor structure, or excess nutrients. Adding more fertilizer will not fix compacted ground, and adding more compost will not solve every drainage issue. Match the remedy to the actual problem.
Check the bed before planting and keep watching it as the crop grows. Early changes are easier to make than trying to correct a poor soil setup after the plants have filled the bed.
Source: shuncy.com
Using fresh manure
Fresh manure may contain excessive nitrogen and can pose food-safety risks. Use properly composted material when appropriate.
Planting in waterlogged soil
Excess water limits air around roots and can increase the risk of decay.
Adding too much fertilizer
Excess nutrients can cause unbalanced growth and may damage roots.
Ignoring soil pH
The wrong pH can affect nutrient availability and may increase certain potato problems.
Working soil when wet
Wet soil can smear, compact, and form hard clods that are difficult to break later.
Leaving tubers exposed
Tubers exposed to sunlight can turn green. Add soil or mulch around growing stems as needed.
What If Potato Plants Grow Lots of Leaves but Few Tubers?
Excess nitrogen is one possible cause of lush leaf growth and poor tuber production, but it is not the only one. Plant variety, temperature, planting date, water stress, disease, and other growing conditions can also affect tuber formation.
Review the fertilizer you used and compare the amount with soil-test guidance. Do not add more nitrogen to a plant that already has vigorous green growth without a clear reason. Keep moisture steady and check whether the variety is suited to your local season.
Review fertilizer use
Check whether the bed received manure, compost, or fertilizer high in nitrogen.
Check moisture
Large swings between very dry and very wet soil can stress potato plants.
Review planting conditions
Check variety guidance, planting dates, and local growing conditions before changing the soil.
What If Potatoes Have Rough or Scabby Skins?
Rough, corky patches may be a sign of common scab, although other issues can affect potato skin. Soil pH, susceptible varieties, and conditions during early tuber development can all play a role. A high pH may favor common scab in some soils.
Avoid applying lime without a soil test when potatoes are the planned crop. Keep moisture reasonably steady during early tuber development, use healthy seed potatoes, and consult local Extension guidance if the problem returns each year. Soil management may lower risk but cannot guarantee scab-free tubers.
Check pH
Test the soil before making changes that raise or lower acidity.
Use healthy seed
Start with certified seed potatoes from a reliable source when available.
Avoid overpromising a cure
No single amendment or watering method prevents every case of potato scab.
How to Tell When Potato Soil Is Ready for Planting
Potato soil is ready when it is loose, workable, free of major obstacles, and moist without being soggy. It should not stick to tools in thick layers or form a hard crust after light handling. The site should also have suitable drainage and enough room for the chosen planting method.
Look at the whole growing area rather than judging it from the surface alone. A bed can look neat while hiding a compacted layer below. Use a fork to check whether the soil loosens at the planned planting depth.
Do not expect soil preparation alone to guarantee a large crop. Seed quality, variety, weather, pests, disease, planting time, and steady water all affect the harvest. The aim is to remove avoidable barriers before the crop begins.
Source: shuncy.com
The soil crumbles easily
A gentle squeeze breaks the soil apart without leaving a hard, sticky lump.
Water drains freely
The planting area does not remain flooded after rain or watering.
The soil has suitable moisture
It feels moist but does not release water when squeezed.
The bed is free of large obstacles
Large rocks, weeds, and hard clods have been removed from the planting zone.
The pH and nutrients have been reviewed
A soil test or suitable local guidance has informed any amendments or fertilizer.
A Simple Final Soil Check
Take a handful of soil from the planting zone and squeeze it lightly. If it is dusty and falls apart at once, the bed may be too dry to work well. If it forms a slick, sticky lump, wait for it to dry before digging. Soil that breaks into small crumbs is often easier to plant in.
Check one more spot a few inches below the surface. This helps you avoid planting into a loose top layer above dense soil. If the lower layer is hard, loosen it where practical without turning the whole bed into fine powder.
Ready
The soil is crumbly, moist, and loose enough for planting.
Too wet
The soil smears or sticks heavily to tools. Wait before working it.
Too compact
A fork meets a hard layer. Loosen the planting zone and reduce foot traffic.
Frequently Asked Questions
Q
Can I use regular garden soil to grow potatoes?
Yes, if the garden soil drains well, has a suitable texture, and is not known to be contaminated. Loosen the soil, remove large stones, and add finished compost when needed. For containers, use a quality potting mix instead of garden soil alone because garden soil may become too dense in a pot.
Q
Should I add sand to potato soil?
Not in every case. Sandy soil may already drain well, while adding a small amount of sand to heavy clay can make the texture worse. Improve clay with suitable organic matter and consider a raised bed if the site stays wet. Base major soil changes on the texture and drainage problem you actually have.
Q
Is coffee grounds good for potato plants?
Small amounts of used coffee grounds can be added to a compost pile, but they are not a complete potato fertilizer. Do not pile thick layers of grounds around potato plants. Use finished compost and soil-test guidance to manage organic matter and nutrients.
Q
Can I use potting soil for potatoes?
Yes. A quality potting mix can work well for potatoes in grow bags, pots, and other containers. Check whether it already contains fertilizer or compost before adding more. Choose a container with drainage holes and enough room for the roots and developing tubers.
Q
How often should I water potatoes after planting?
Water when the soil begins to dry, adjusting for rainfall, temperature, soil type, and container size. Sandy soil and small pots may need more frequent checks than loamy garden beds. Keep the root zone evenly moist during active growth, but do not leave it waterlogged.
Q
Should I add lime to potato soil?
Do not add lime automatically. Lime raises soil pH, and potatoes generally prefer slightly acidic soil. Test the soil first and follow local recommendations. Raising the pH without a clear need may increase the risk of common scab in some growing conditions.
Q
Can potatoes grow in soil without compost?
Yes. Compost is useful but not always required, especially if the existing soil has good structure and adequate fertility. A soil test can help determine whether organic matter or nutrients need to be added. Focus first on drainage, texture, and the needs of the potato variety.
✦ Wrapping Up
Conclusion
Learning how to make soil for potatoes starts with understanding the ground you have. Potatoes need loose, well-drained soil, steady moisture, and a suitable supply of nutrients. A pH of about 5.0 to 6.5 is a useful target for many gardens, but a soil test can help you make the right changes.
Clear the planting area, loosen compacted ground, remove large stones, and blend in finished compost when needed. Avoid fresh manure, excessive fertilizer, and attempts to fix every soil problem with one amendment. For containers, use a light potting mix and provide open drainage holes.
Good soil gives potato plants a better start, but it is only one part of a healthy crop. Choose sound seed potatoes, plant at a suitable time for your region, keep the soil evenly moist, and add soil around stems as the plants grow. Check local Cooperative Extension guidance when soil pH, nutrient needs, or recurring disease problems are unclear.
💡 Key Takeaway
Before planting, test your soil pH, check drainage, and assess texture. Add finished compost only as needed, correct confirmed nutrient problems, and make sure the planting zone is loose and moist rather than wet.