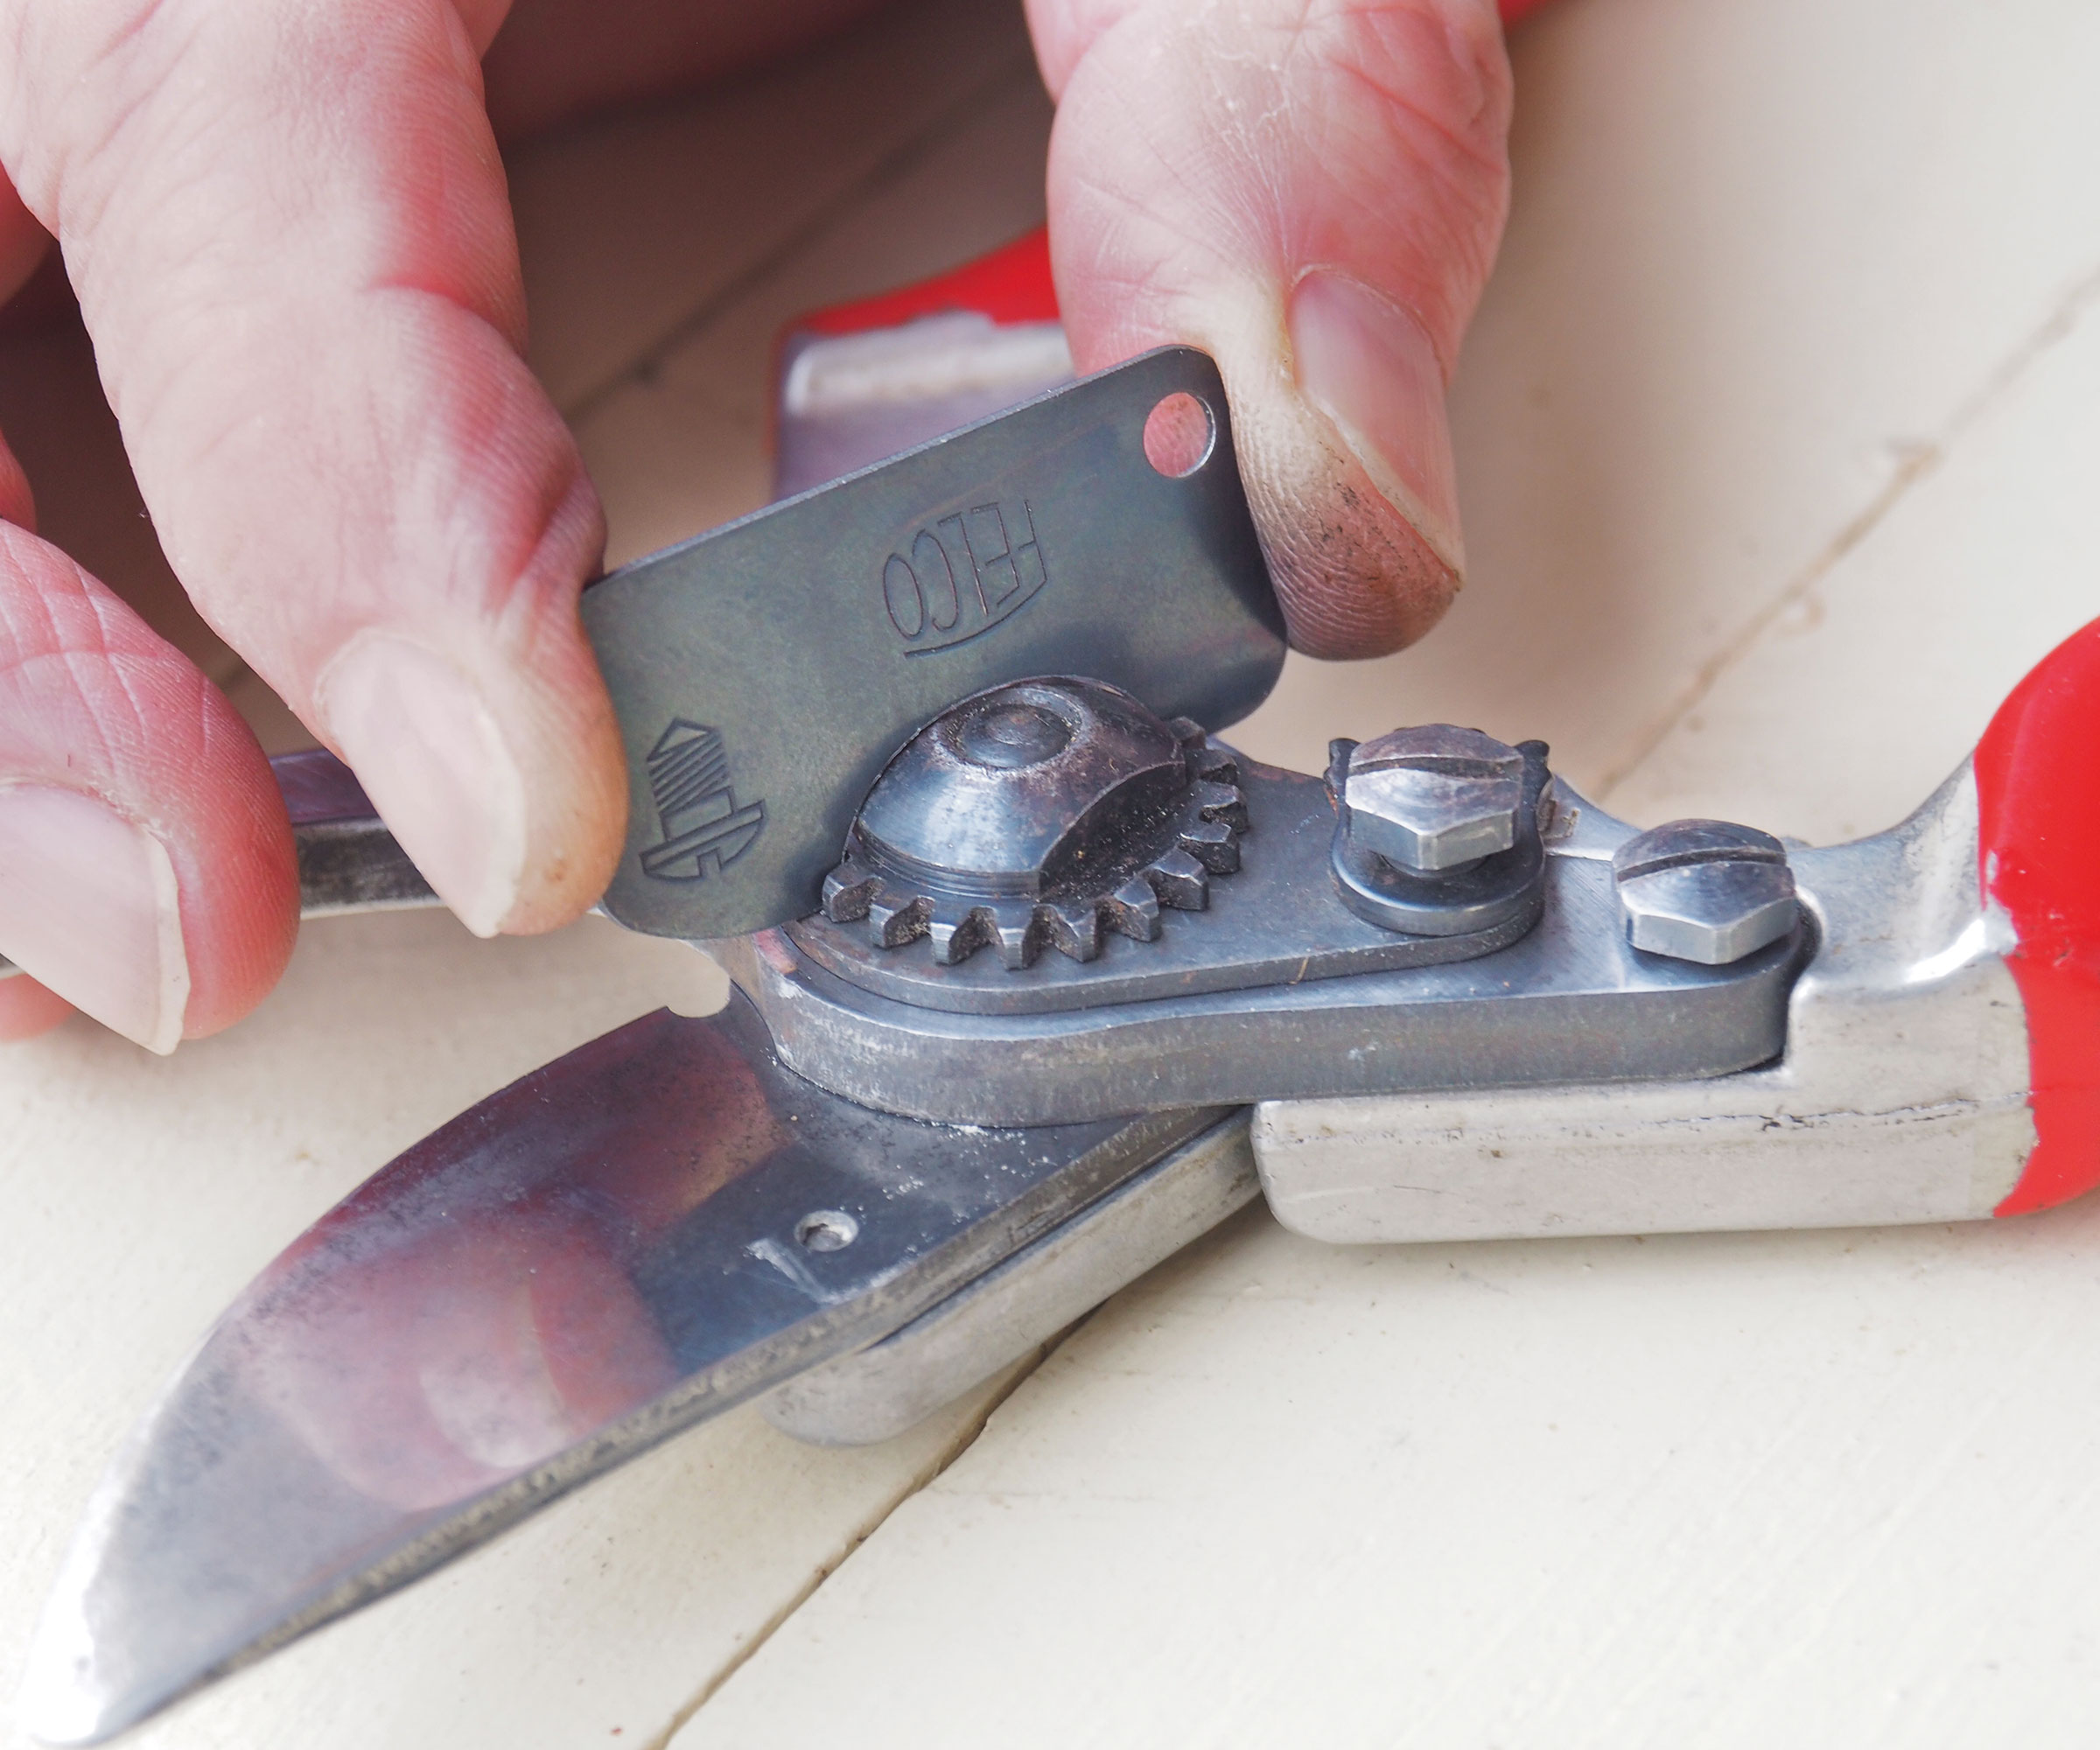
Preventive maintenance for pruning shears includes cleaning the blades after use, removing sap and rust, sharpening the cutting edge, oiling moving parts, checking fasteners, disinfecting between plants when needed, and storing the tool in a dry place.
Pruning shears are a handy tool in American gardens. You may use them to trim rose bushes, cut back perennials, remove dead stems, or shape small shrubs. From spring growth in the South to fall cleanup in the Midwest, these small tools help keep garden work neat. Yet dirt, plant sap, moisture, and dull edges can soon make a good pair hard to use.
Preventive maintenance means caring for pruning shears before a small problem turns into a costly repair. A short care routine can help the blades cut well, move with less drag, and resist rust. It also helps you spot loose parts or damage before the next job. This guide explains how to clean, sharpen, oil, inspect, disinfect, and store pruning shears, with safety tips for common garden tasks.
Source: gardenitemreviews.com
Why Preventive Maintenance Matters For Pruning Shears
Preventive maintenance helps pruning shears stay clean, sharp, and ready for use. A sharp blade can pass through suitable stems with less effort than a dull one. Clean blades also make it easier to spot chips, cracks, sap buildup, and rust. Regular checks can reveal small faults before they affect the next cut.
Poorly maintained shears may crush stems, snag on bark, or need extra hand force. These problems can slow garden work and make control harder. A loose pivot can also cause the blades to shift out of line. Keeping the tool in good shape helps you work with better control, though it does not remove the risk of cuts or other injuries.
The amount of care needed depends on how often you prune, the plants you cut, and the weather where you garden. Shears used every day in a damp climate may need more frequent cleaning and oiling than a pair used once a month in a dry area. The best routine is one that fits the actual use of the tool.
Source: sublimegardens.co.uk
Better cutting action
Clean, sharp blades can make suitable cuts with less drag and less effort.
Longer service life
Removing moisture and plant residue helps limit rust and buildup that can damage metal parts.
Early fault detection
Regular checks can reveal loose bolts, cracked handles, worn springs, or chipped blades.
Cleaner pruning work
Cleaning and timely disinfection reduce the chance of carrying harmful plant material from one plant to another.
Tools And Supplies Needed For Routine Maintenance
Gather your supplies before you start. A few basic items are enough for most manual bypass and anvil pruning shears. Always check the manufacturer’s care guide first, especially if the tool has coated blades, special fasteners, or parts that should not be taken apart.
Work on a stable bench with good light. Keep the cutting edges pointed away from your body, and place small parts in a tray if the manufacturer allows you to remove them. Wear suitable work gloves while handling dirty tools, but remember that gloves do not make a sharp blade safe to touch.
Source: cdn.mos.cms.futurecdn.net
Soft cloth or brush
Use these to remove loose dirt, leaf bits, and dried plant debris.
Warm water and mild soap
Use a small amount for ordinary dirt when the tool can be safely washed. Dry all metal parts right away.
Sap remover or suitable solvent
Choose a product approved for the tool’s materials. Follow its label and keep it away from flames when required.
Sharpening stone or file
Use a tool that matches the blade type and the manufacturer’s instructions.
Light machine oil or approved lubricant
Use a small amount on the pivot and exposed metal surfaces where suitable.
Plant-safe-use disinfectant
Choose a product labeled for the intended use and follow its stated contact time and safety steps.
Check The Pruner Type Before You Begin
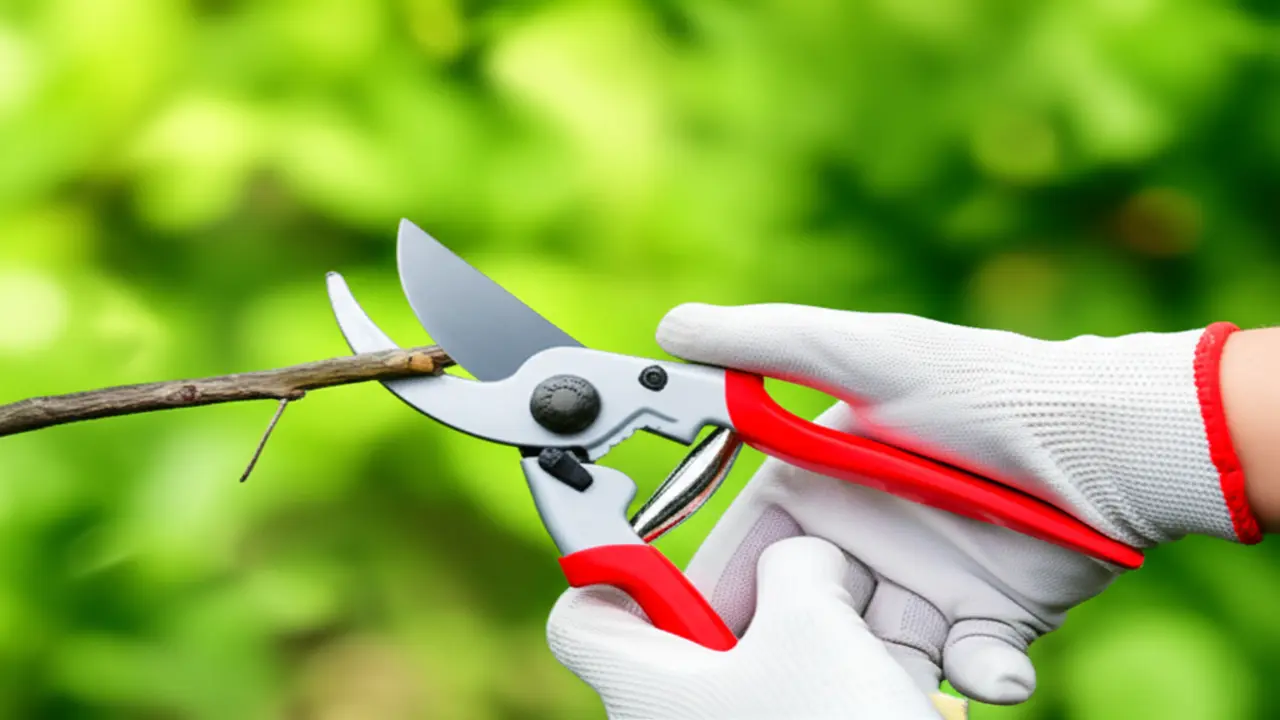
Bypass pruning shears have two blades that pass each other, much like scissors. They are often used for live stems because they can make clean cuts when sharp and correctly aligned. Anvil pruners press a blade against a flat surface and may suit some dry or dead material, depending on the tool and plant.
The cutting edges and care steps can differ by design. Some shears have replaceable blades, while others need service from the maker. Do not use the same sharpening method on every pruner without checking its design.
Manual shears
Follow the tool’s guidance for cleaning, sharpening, lubrication, and any permitted disassembly.
Cordless electric shears
Switch off the tool and remove the battery before cleaning or servicing, as directed by the manual.
Step 1: Clean Pruning Shears After Use
Cleaning is the first task in preventive maintenance. Soil, sap, and plant fibers can collect near the pivot and along the blade edges. This buildup can slow the cutting action and hide early signs of wear. A quick wipe after each job makes deeper cleaning easier later.
Close or lock the shears only when the design permits it safely. Keep your fingers away from the cutting edges as you remove debris. Never drag a cloth along a blade toward your hand. Instead, wipe away from the edge or use a brush to loosen material.
Source: onevantool.com
Remove loose debris
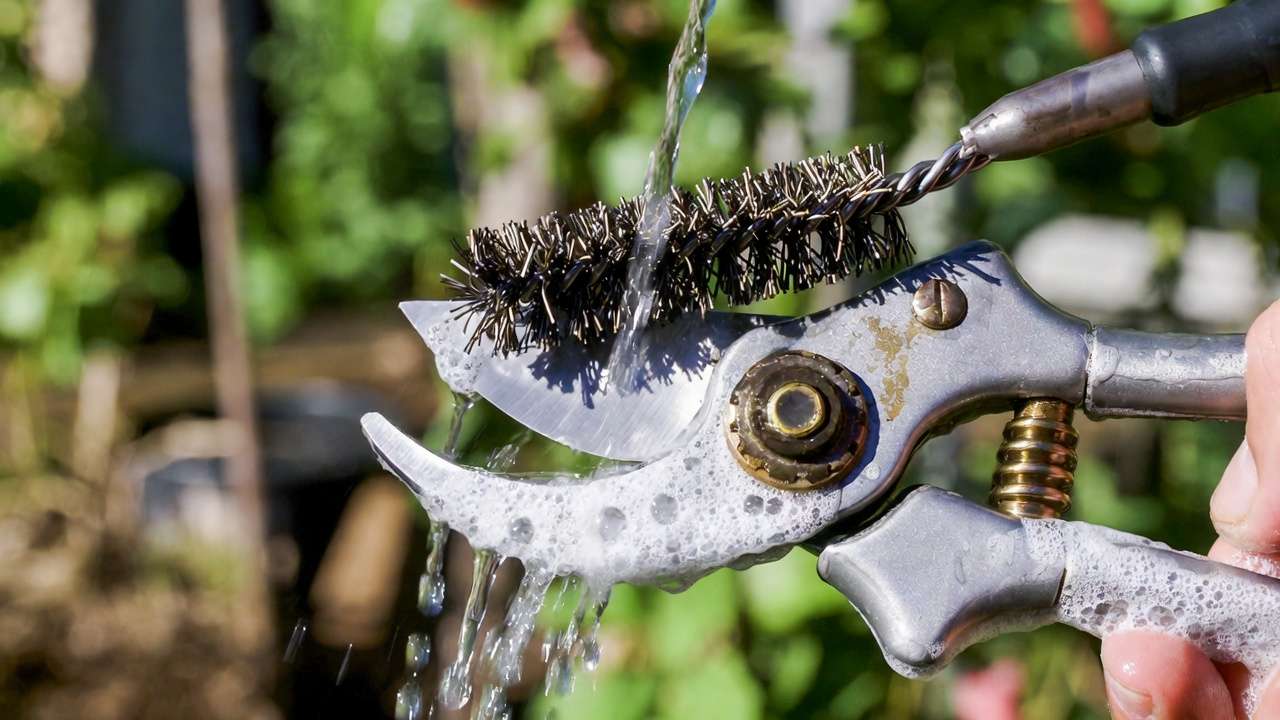
Brush away dirt, leaves, and small plant pieces from the blades, pivot, and spring.
Wash off ordinary grime
If the manufacturer permits washing, use a damp cloth and mild soap. Avoid soaking the whole tool unless the manual allows it.
Remove sticky sap
Use a suitable sap remover or approved solvent on a cloth. Test it in a small area if the maker warns about coatings or handle materials.
Dry the tool fully
Wipe away all moisture, including water near the pivot and fasteners. Let the tool air-dry fully before you oil and store it.
How To Remove Hardened Sap
Hardened sap may leave a tacky film that soap alone cannot remove. Apply a suitable cleaner to a cloth rather than pouring liquid into the pivot. Allow the cleaner to work only as directed, then wipe away the loosened residue. Keep the product off surfaces it may damage, and do not mix cleaners.
Avoid rough scraping
Metal picks and coarse abrasives can scratch a blade or harm its protective finish.
Check the pivot
Sap around the joint can restrict movement, so remove residue without forcing liquid into the mechanism.
Step 2: Disinfect The Blades When Needed
Cleaning removes dirt and plant residue, while disinfection aims to reduce harmful microbes on the tool. These tasks are not the same. When you prune plants that show signs of disease, clean and disinfect the blades as appropriate before moving to another plant. Follow local plant health guidance if you suspect a serious or spreading disease.
Choose a disinfectant labeled for the intended use on gardening tools. The label should explain how to apply it, how long the surface must remain wet, and whether the product needs to be rinsed off. Keep it away from your eyes and skin, and use suitable ventilation and protective gear. Never mix disinfectants with other cleaners.
Source: treecarezone.com
Clean before disinfecting
Sap and dirt can interfere with the process, so remove visible residue first.
Follow the contact time
Keep the blade wet for the time stated on the product label. A quick spray may not meet the required contact time.
Treat each plant as needed
When disease spread is a concern, disinfect between plants or cuts as advised by the relevant plant health guidance.
Dry and protect the metal
After the labeled process is complete, follow any rinse instructions, dry the tool, and apply suitable protective oil if permitted.
Does Rubbing Alcohol Work On Pruning Shears?
Alcohol products are used for some tool-disinfection tasks, but their effectiveness depends on the concentration, contact time, target organism, and amount of plant residue present. Do not assume that any alcohol product will control every plant pathogen. Use a method recommended for the disease and tool in question, and follow the product label.
Do not guess the dilution
Use only the concentration and method supported by the product directions or relevant plant health guidance.
Keep fire safety in mind
Alcohol is flammable. Keep it away from sparks, flames, hot surfaces, and other ignition sources.
Step 3: Sharpen The Cutting Blade
Sharpen pruning shears when the blade begins to crush stems, slips during a cut, or needs more force than usual. A sharp edge helps the tool cut suitable stems cleanly. Do not wait until the blade becomes badly damaged, because removing too much metal can change its shape and shorten its useful life.
Before sharpening, clean the blade and inspect its edge. Follow the manufacturer’s instructions for the correct sharpening tool and angle. Many bypass pruners have a bevel on the cutting blade and a flatter opposing surface. Sharpen only the surfaces the maker specifies.
Source: mvm-tools.com
Secure the tool
Lock it in a stable position using an approved method. If you cannot hold it securely without putting your hands near the edge, stop and seek a safer setup.
Follow the original bevel
Use smooth strokes along the cutting edge, following the angle already present rather than creating a new one.
Use light pressure
Remove only enough metal to restore the edge. Heavy grinding can overheat the blade or remove too much material.
Remove any burr as directed
A burr is a thin lip of metal left at the edge. Remove it only by the method recommended for the pruner.
Clean and oil the blade
Wipe away metal dust, dry the tool, and apply a thin coat of suitable oil if the maker allows it.
How To Tell If The Blade Is Sharp Enough
Use a suitable test on a small, fresh stem that falls within the tool’s rated cutting capacity. The blade should pass through the stem without crushing it or needing unusual force. Keep your hands away from the blade path, and never test sharpness by running a finger along the edge.
Clean cut
The stem has a neat cut rather than a ragged or heavily crushed end.
Smooth action
The handles move through the cut without binding or unexpected shifts.
No major edge damage
The blade has no obvious chips, cracks, or severe bends. Serious damage calls for repair or replacement rather than routine sharpening.
When To Replace A Blade Instead Of Sharpening It
Sharpening cannot fix every type of damage. A cracked blade, a deep chip, a badly bent cutting edge, or a blade that no longer aligns with the opposing jaw may need replacement. If the blade is not sold separately or the tool cannot be repaired safely, replacing the pruners may be the better option.
Replace or service
Use approved replacement parts and the maker’s service method instead of bending or grinding damaged parts back into shape.
Step 4: Lubricate The Pivot And Protect The Metal
Lubrication helps the pivot move smoothly and can protect exposed metal from moisture. Apply oil after cleaning and drying the tool. Use a lubricant approved by the manufacturer, since some products may harm plastic handles, rubber parts, coatings, or internal mechanisms.
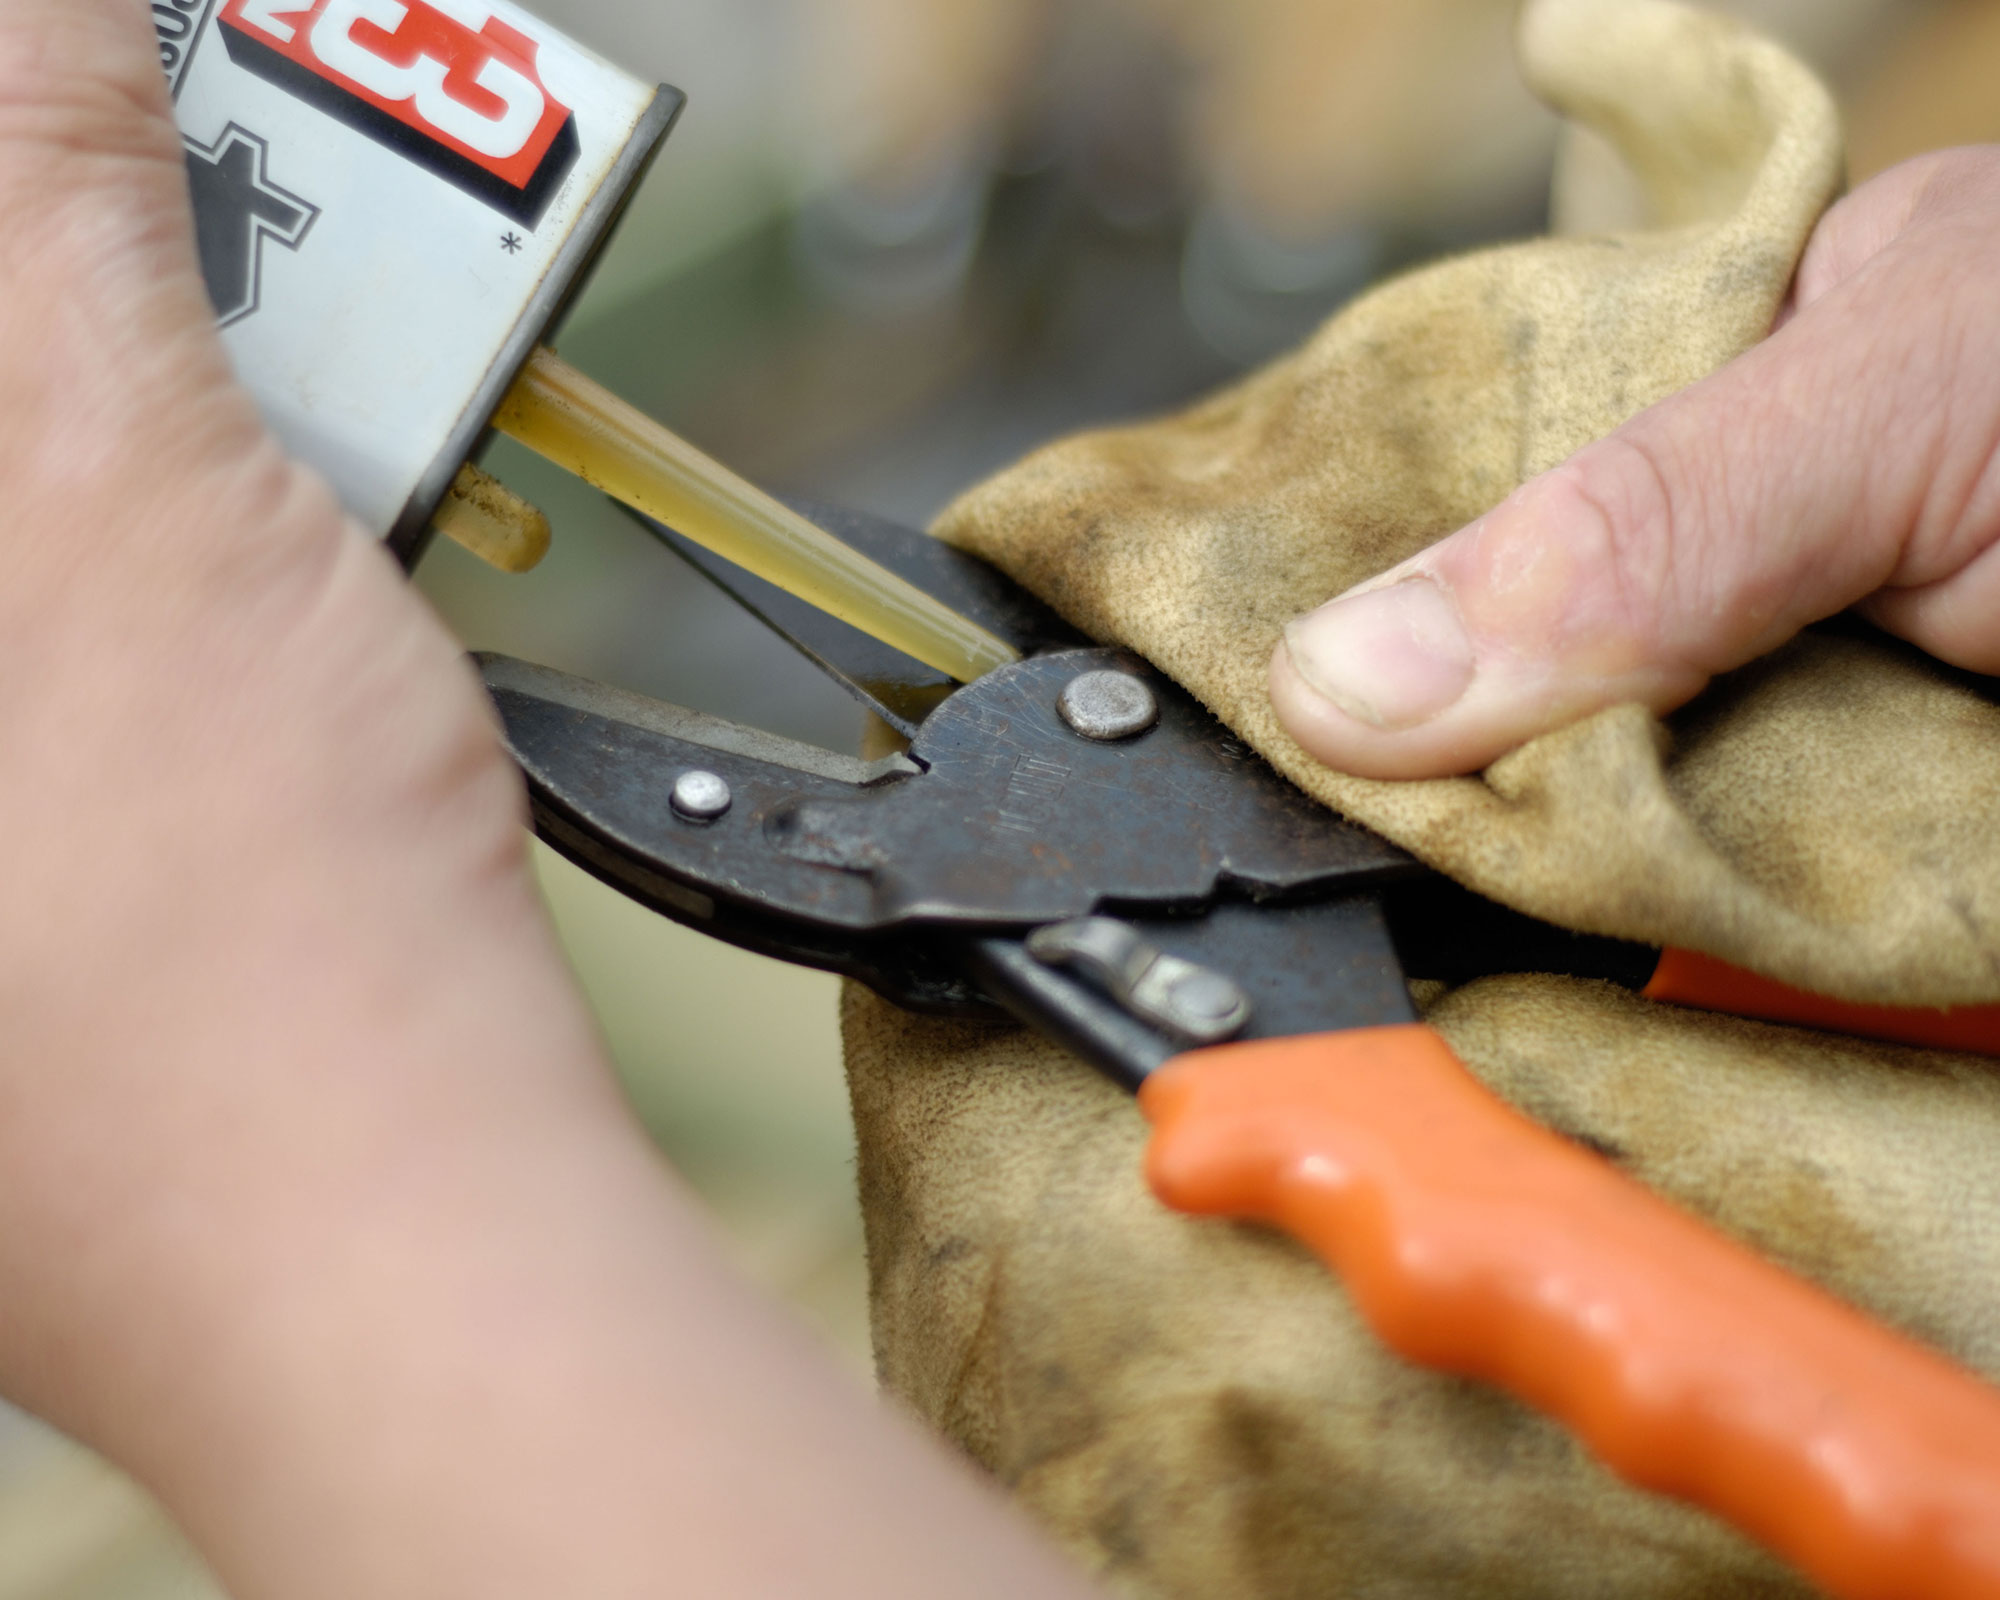
A small amount is usually enough for routine care. Too much oil can attract dust and plant debris, leaving a sticky layer around the joint. Apply the oil where the manual recommends, open and close the shears carefully to spread it, then wipe away the excess.
Source: cdn.mos.cms.futurecdn.net
Oil the pivot
Place a small drop at the joint if the maker permits it, then move the handles gently to distribute the lubricant.
Protect exposed steel
Apply a thin film to clean, dry metal surfaces where suitable. Avoid oiling parts that must remain dry for safe operation.
Check for smooth movement
The blades should open and close without grinding, binding, or unusual looseness.
Wipe off excess
Remove surplus oil so it does not collect dirt or transfer to plant surfaces.
Which Oil Should You Use?
Light machine oil or a lubricant specified by the tool maker can work for many manual pruning shears. Some manufacturers recommend a particular product for their tools. Check the manual before using penetrating sprays, thick grease, cooking oil, or other household products. The right choice depends on the blade coating, pivot design, and handle materials.
Use a light coat
A thin film helps protect metal without leaving a heavy residue.
Avoid unsuitable products
Do not assume that every household oil is suitable for garden tools or plants.
Step 5: Inspect The Pivot, Spring, Lock, And Handles
A clean, sharp blade is not enough if the rest of the tool is damaged. Inspect the moving parts and handles during routine maintenance. These checks can reveal problems that affect control, cutting action, or safe storage. If a part looks cracked or badly worn, stop using the tool until it has been repaired or replaced.
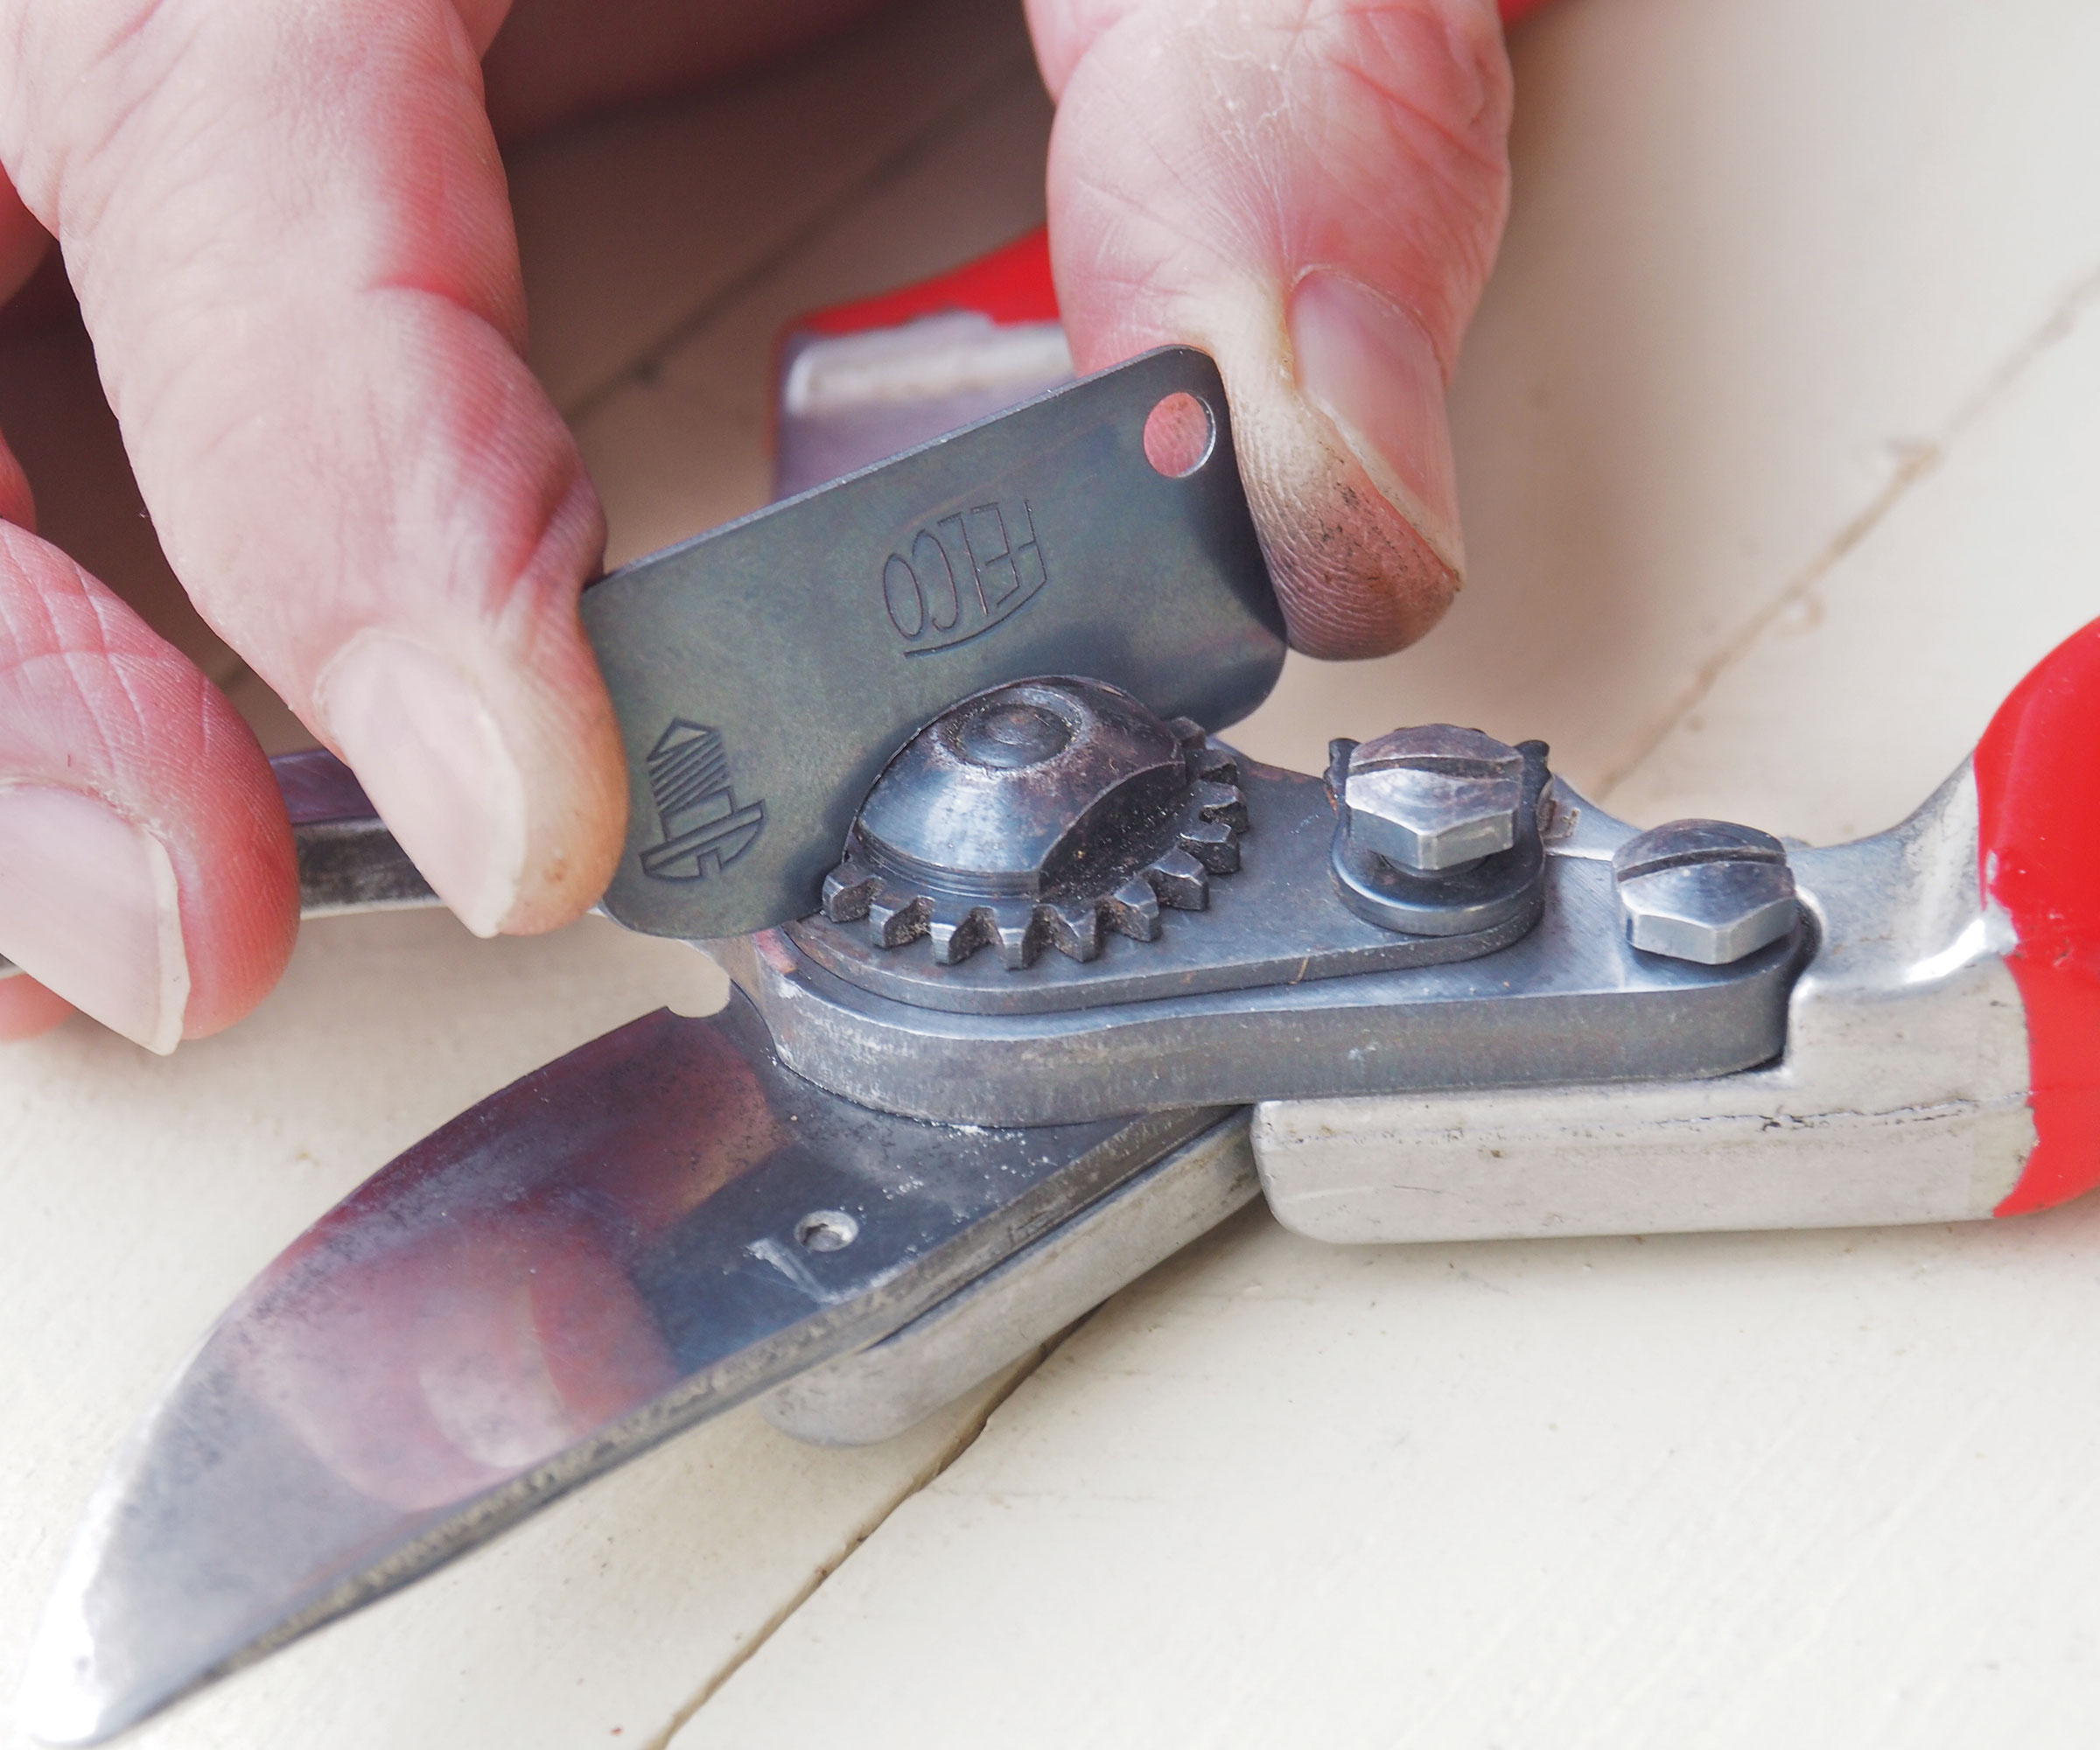
Check the pivot bolt for excessive looseness and the blades for proper alignment. Some movement is normal, but the blades should not wobble enough to miss each other or bind. Tighten fasteners only as directed by the manufacturer. Over-tightening can restrict movement, damage threads, or affect alignment.
Source: i.ytimg.com
Pivot bolt or nut
Look for looseness, rust, wear, or signs that the joint has shifted.
Return spring
Check for cracks, slipping, corrosion, or failure to reopen the handles as designed.
Safety lock
Make sure the lock engages and releases correctly without forcing it.
Handles and grips
Look for cracks, loose covers, sharp edges, or grips that move during use.
Blade alignment
Close the shears slowly and check whether the blades meet as designed without striking or passing incorrectly.
What If The Pruning Shears Feel Stiff?
Stiff movement may come from dried sap, dirt near the pivot, rust, a tight fastener, or a worn spring. Clean the joint first and inspect it again. If the tool remains stiff, check the maker’s adjustment instructions instead of forcing the handles. Persistent binding or damaged parts may need professional service or replacement.
Clean first
Remove dirt and sticky residue before making any adjustment.
Check the fastener
Adjust it only if the manufacturer provides a safe method and the correct tool.
Stop if parts are damaged
Do not continue cutting with a cracked handle, damaged spring, or misaligned blade.
Step 6: Store Pruning Shears The Right Way
Good storage protects the work you have done during cleaning, sharpening, and oiling. Moisture left on the blades can lead to rust, especially in humid parts of the United States or in sheds that collect condensation. Store the tool indoors in a dry place rather than leaving it on damp soil, a wet bench, or an exposed porch.
Close and lock the shears according to the manufacturer’s instructions before putting them away. Use a sheath or blade cover when supplied. Keep the tool out of reach of children and away from loose items that could catch on the cutting edge. Do not store wet shears in a sealed container where moisture can remain trapped.
Source: i.pinimg.com
Choose a dry spot
A dry tool cabinet, workshop shelf, or protected storage box can help limit exposure to rain and damp air.
Use the safety lock
Make sure the blades remain closed when the tool is not in use.
Keep a protective cover on
Use the proper sheath or blade guard to protect the edge and prevent accidental contact.
In humid regions, moisture may remain on metal even when the tool looks dry. Dry the blades and pivot with a clean cloth after use, then apply a thin protective film of suitable oil. Check stored tools from time to time, especially after long periods of rain or high humidity.
Do not leave shears in a wet garden bag, uncovered shed, or outdoor bucket.
Check for early rust
Small surface spots may be manageable, but deep pitting or damage near the cutting edge needs closer inspection.
How Often Should You Maintain Pruning Shears?
The right maintenance schedule depends on use, plant type, weather, and the tool’s design. A gardener who prunes roses every week may need to clean the blades more often than someone who trims a few shrubs each month. Instead of relying on one fixed date, check the tool after each use and perform deeper care when you notice buildup or reduced performance.
The schedule below is a practical starting point, not a universal manufacturer rule. Adjust it to your conditions and follow any care intervals in the tool manual. Clean the blades sooner if they touch diseased plant material or become coated with heavy sap.
Source: cdn.mos.cms.futurecdn.net
After every use
Remove plant debris, wipe the blades clean, and dry the tool before storage.
When sap or grime builds up
Perform a deeper clean instead of letting residue collect around the pivot.
When cutting quality drops
Inspect and sharpen the blade if appropriate, or check for misalignment and damage.
After exposure to moisture
Dry the tool promptly and apply suitable protective oil where needed.
Before seasonal storage
Clean, inspect, lubricate, and lock the shears before storing them for an extended period.
A Simple Monthly Inspection
If you use your shears often, set aside a short time each month for a closer check. Clean the pivot, inspect the blade edge, test the lock, and check for loose or worn parts. Sharpen only when the edge needs it. A blade does not need sharpening just because a new month has begun.
Inspect
Look for rust, chips, cracks, loose fasteners, and worn handles.
Test
Open and close the shears safely to check movement, alignment, and lock function.
Protect
Apply suitable lubricant and return the clean tool to dry storage.
Common Pruning Shears Problems And Practical Fixes
A few simple checks can help you find the cause of poor cutting action. Start with cleaning because sap and dirt are common sources of drag. Then check lubrication, fastener tension, blade sharpness, and alignment. Do not force the tool through a thick stem to test whether it still works.
Source: mvm-tools.com
Problem: Sticky blades
Likely cause: hardened sap or plant residue. Fix: clean the blade with an approved cleaner, dry it fully, and apply suitable oil.
Problem: Ragged or crushed stems
Possible causes: a dull edge, poor alignment, an unsuitable pruner type, or stems beyond the tool’s capacity. Inspect the blade and use the right tool for the cut.
Problem: Rust spots
Possible cause: moisture during use or storage. Remove minor surface rust only with a method approved for the blade, then dry and protect the metal. Deep pitting may require replacement.
Problem: Handles do not open smoothly
Possible causes: debris, a stiff pivot, a damaged spring, or a fastener that needs adjustment. Clean and inspect first, then follow the maker’s repair instructions.
Problem: Blades do not meet correctly
Possible causes: a loose pivot, worn joint, bent blade, or damaged frame. Stop using the tool if alignment cannot be restored safely.
Problem: The lock will not stay engaged
Possible cause: wear, damage, or debris in the locking mechanism. Clean it as directed and replace or service faulty parts before storage or use.
When Routine Maintenance Is Not Enough
Do not try to repair serious damage with improvised fixes. Cracked handles, broken springs, deep blade chips, badly bent parts, and failed locks may make the tool unsafe. Contact the manufacturer or a qualified repair service if approved replacement parts or safe repair steps are available. Replace the shears if they cannot be restored to reliable working condition.
Stop using damaged shears
Set the tool aside until the fault is repaired or the tool is replaced.
Use correct replacement parts
Parts made for the exact model are more likely to fit and function as intended.
Safety Rules During Pruning Shears Maintenance
Pruning shears have sharp edges and spring-loaded parts, so safe handling matters during every care task. Keep the cutting edge pointed away from your body, work on a stable surface, and engage the lock whenever the design allows it. Do not hold the blade in your hand while sharpening or cleaning it.
Read the labels for cleaners, solvents, lubricants, and disinfectants before use. Wear the protective equipment stated on the label, keep products away from children and pets, and allow flammable products to dry as directed before bringing the tool near a flame or spark. Never mix chemical products to create a stronger cleaner.
Source: gardenitemreviews.com
Secure the tool
Keep it stable during cleaning and sharpening. Use a suitable holder when needed.
Protect your hands and eyes
Wear suitable gloves and eye protection for the task, while keeping your hands out of the blade path.
Disconnect powered tools
For electric pruning shears, switch off the tool and remove the battery or disconnect the power source before maintenance, as directed by the manual.
Do not bypass safety features
Never disable the lock, trigger guard, or other safety parts to make maintenance easier.
Dispose of products properly
Follow local rules and the product label for used solvents, cleaning materials, and chemical waste.
A Quick Preventive Maintenance Checklist
A short checklist makes routine care easier to remember. Use it after garden work and before the next pruning session. If you spot a fault, fix it according to the manufacturer’s instructions before using the shears again.
Source: cdn.mos.cms.futurecdn.net
Clean
Remove soil, sap, leaves, and other plant residue from the blades and pivot.
Disinfect when needed
Use a suitable labeled product when plant disease may spread, and follow the full contact time.
Dry
Remove moisture from all exposed metal surfaces before storage.
Sharpen
Restore the cutting edge when needed, following the original bevel and tool instructions.
Lubricate
Apply a small amount of approved oil to the pivot and other recommended metal surfaces.
Inspect
Check the spring, pivot, lock, blade alignment, and handles for damage or excess wear.
Store
Close and lock the shears, fit the blade cover, and keep the tool in a dry, secure place.
Frequently Asked Questions
Q
How often should pruning shears be cleaned?
Wipe pruning shears clean after every use. Remove sap and heavy grime as soon as possible, and clean the pivot when buildup affects movement. If you prune a diseased plant, clean and disinfect the blades as recommended before moving to another plant.
Q
Should pruning shears be oiled after every use?
Not every tool needs a full oiling after each short task. Dry the shears after use and apply a light coat of suitable oil when the metal needs protection or the manufacturer recommends it. Frequent use, rain, and humid storage may increase the need for lubrication.
Q
Can I use WD-40 on pruning shears?
Some penetrating sprays can help loosen residue or displace moisture, but they are not automatically the best long-term lubricant for every pruner. Check the manufacturer’s instructions before use. A suitable light machine oil or approved tool lubricant may be better for routine pivot lubrication and metal protection.
Q
How do I prevent rust on pruning shears?
Remove dirt and sap, dry the blades and pivot fully, apply a thin film of suitable protective oil, and store the tool in a dry place. Do not leave shears in wet grass, a damp bag, or an exposed shed. Inspect the blades now and then for early signs of rust.
Q
Do pruning shears need disinfecting after every cut?
Not every routine cut requires the same disinfection process. The need depends on the plant, the suspected disease, and relevant plant health guidance. When you suspect a contagious plant disease, clean and disinfect the tool between plants or cuts as advised, using a labeled product for the intended purpose.
Q
Can dull pruning shears damage plants?
Dull or misaligned shears can crush, tear, or leave ragged stem ends instead of making a clean cut. This can damage plant tissue and make pruning harder. Keep the blade sharp, use the right pruner for the stem size, and avoid cutting material beyond the tool’s stated capacity.
Q
When should I replace my pruning shears?
Consider replacement when the blade is cracked or badly chipped, the handles are damaged, the spring or lock fails, or the blades cannot be aligned safely. If the manufacturer offers approved replacement parts, repair may be possible. Do not use shears that remain unsafe after routine maintenance.
✦ Wrapping Up
Conclusion
Preventive maintenance keeps pruning shears ready for the next job. Clean off dirt and sap after use, dry the metal, sharpen the blade when needed, and apply suitable oil to the pivot. Check the spring, fasteners, handles, lock, and blade alignment so you can spot faults before they cause trouble.
Your care routine does not need to be complex. A few minutes after pruning can help reduce rust, keep the cutting action smooth, and make problems easier to catch. Always follow the tool manual, use cleaners and disinfectants as labeled, and stop using shears with damaged safety parts.
💡 Key Takeaway
After your next pruning session, clean and dry the shears, inspect the blade and pivot, add a small amount of approved lubricant if needed, and store the locked tool in a dry place.