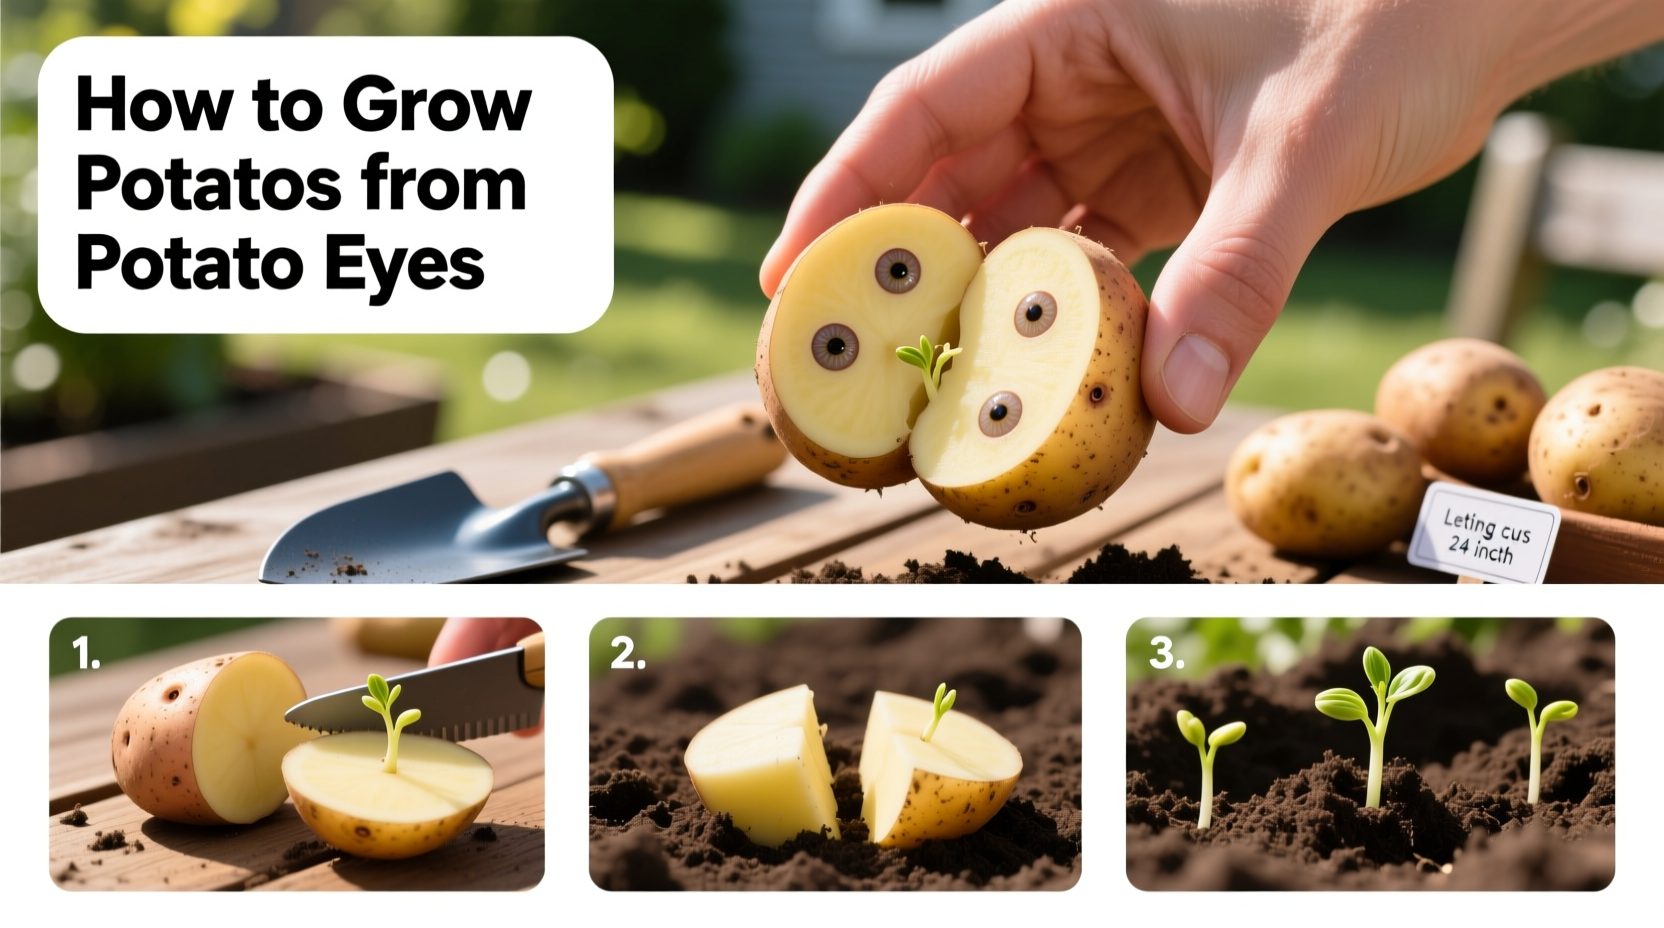
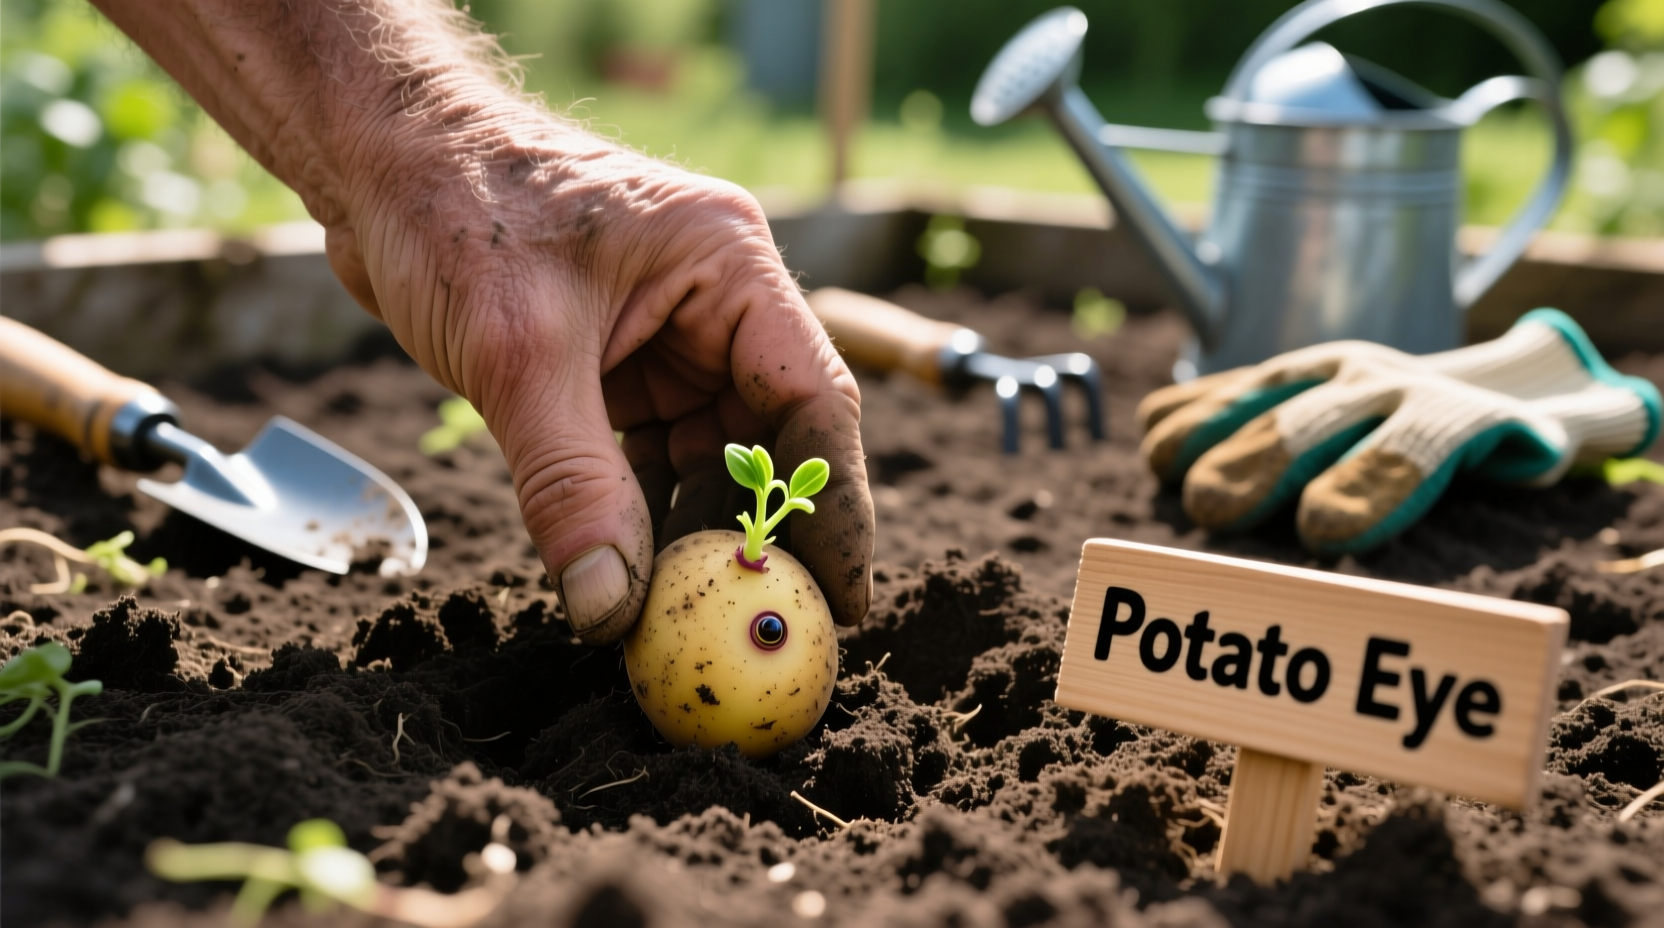
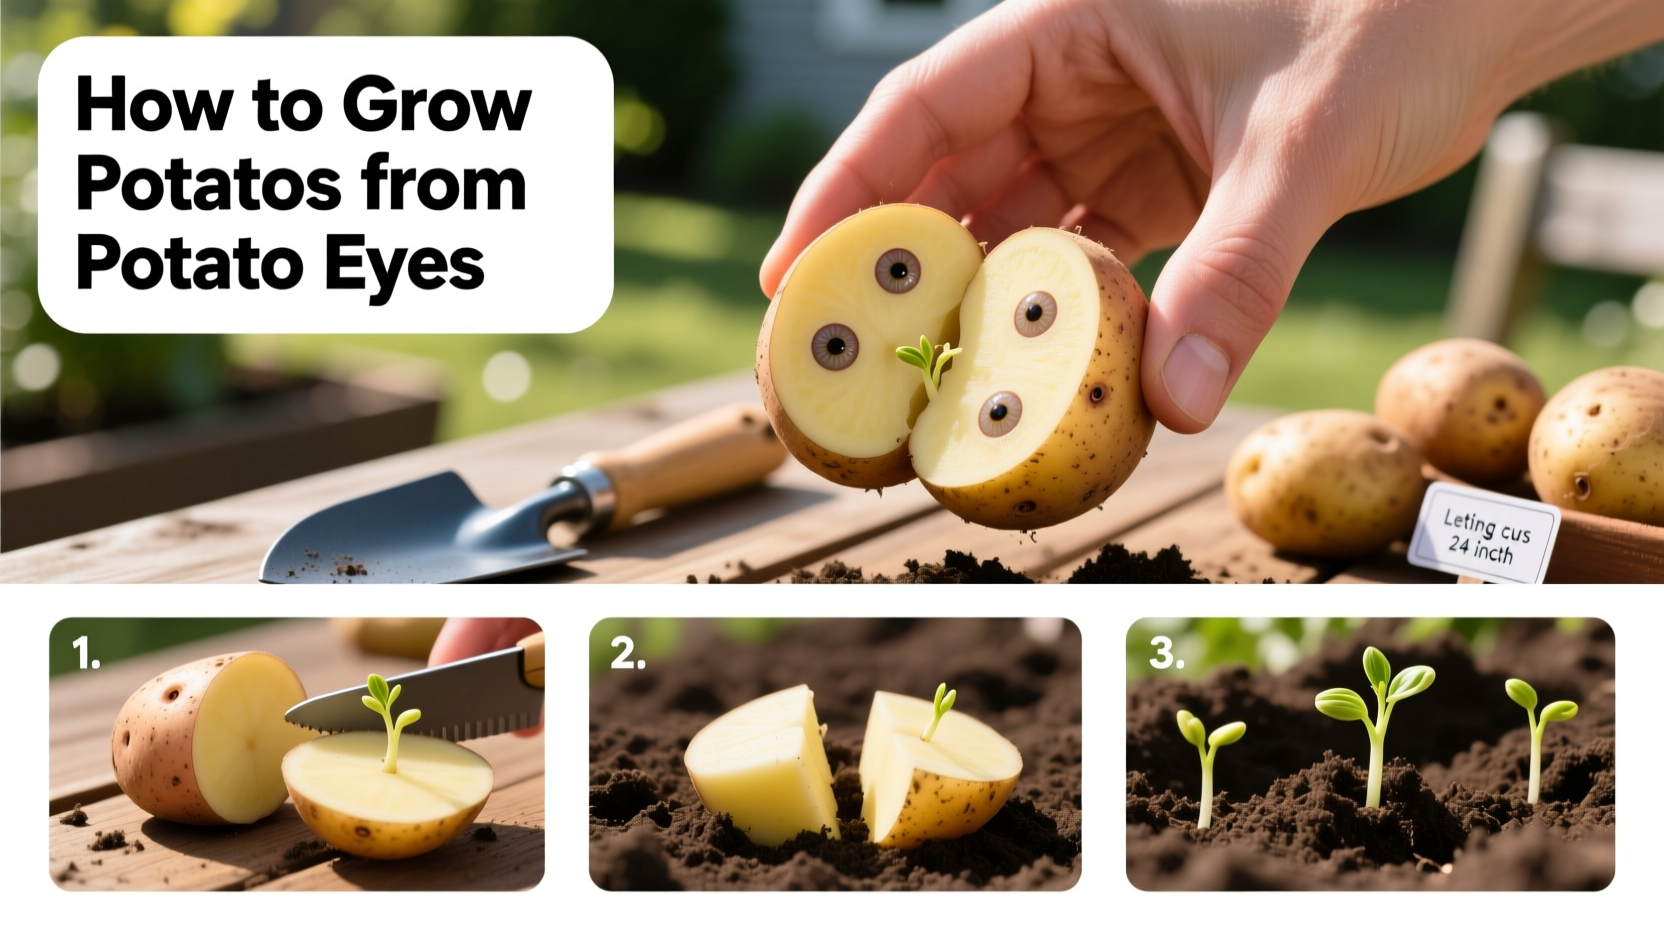
To plant potatoes from potato eyes, use healthy seed potatoes with firm sprouts, cut large potatoes into pieces with at least one or two eyes each, let fresh cuts dry, and plant the pieces in loose, well-drained soil about 3 to 4 inches deep. Space them 10 to 12 inches apart, water as needed, and add soil around the stems as they grow.
Across the United States, potatoes are a useful crop for home gardeners because they can grow in garden beds, raised beds, and large containers. The best planting date depends on your local climate, spring frost dates, and soil temperature. Potatoes grow best in cool weather, so gardeners should plan around their regional growing season rather than follow one national planting date.
A potato eye is a small bud on the potato’s skin. Each healthy eye can sprout and grow into a plant that forms new potatoes underground. You do not need to plant a whole potato if you have a large one. You can cut it into sections, provided each section has a healthy eye and enough stored food to support early growth. Certified seed potatoes are generally the best starting point because they are sold for planting and help reduce the risk of bringing certain potato diseases into your garden.
Source: spice.alibaba.com
What Are Potato Eyes, and Can You Grow Potatoes From Them?
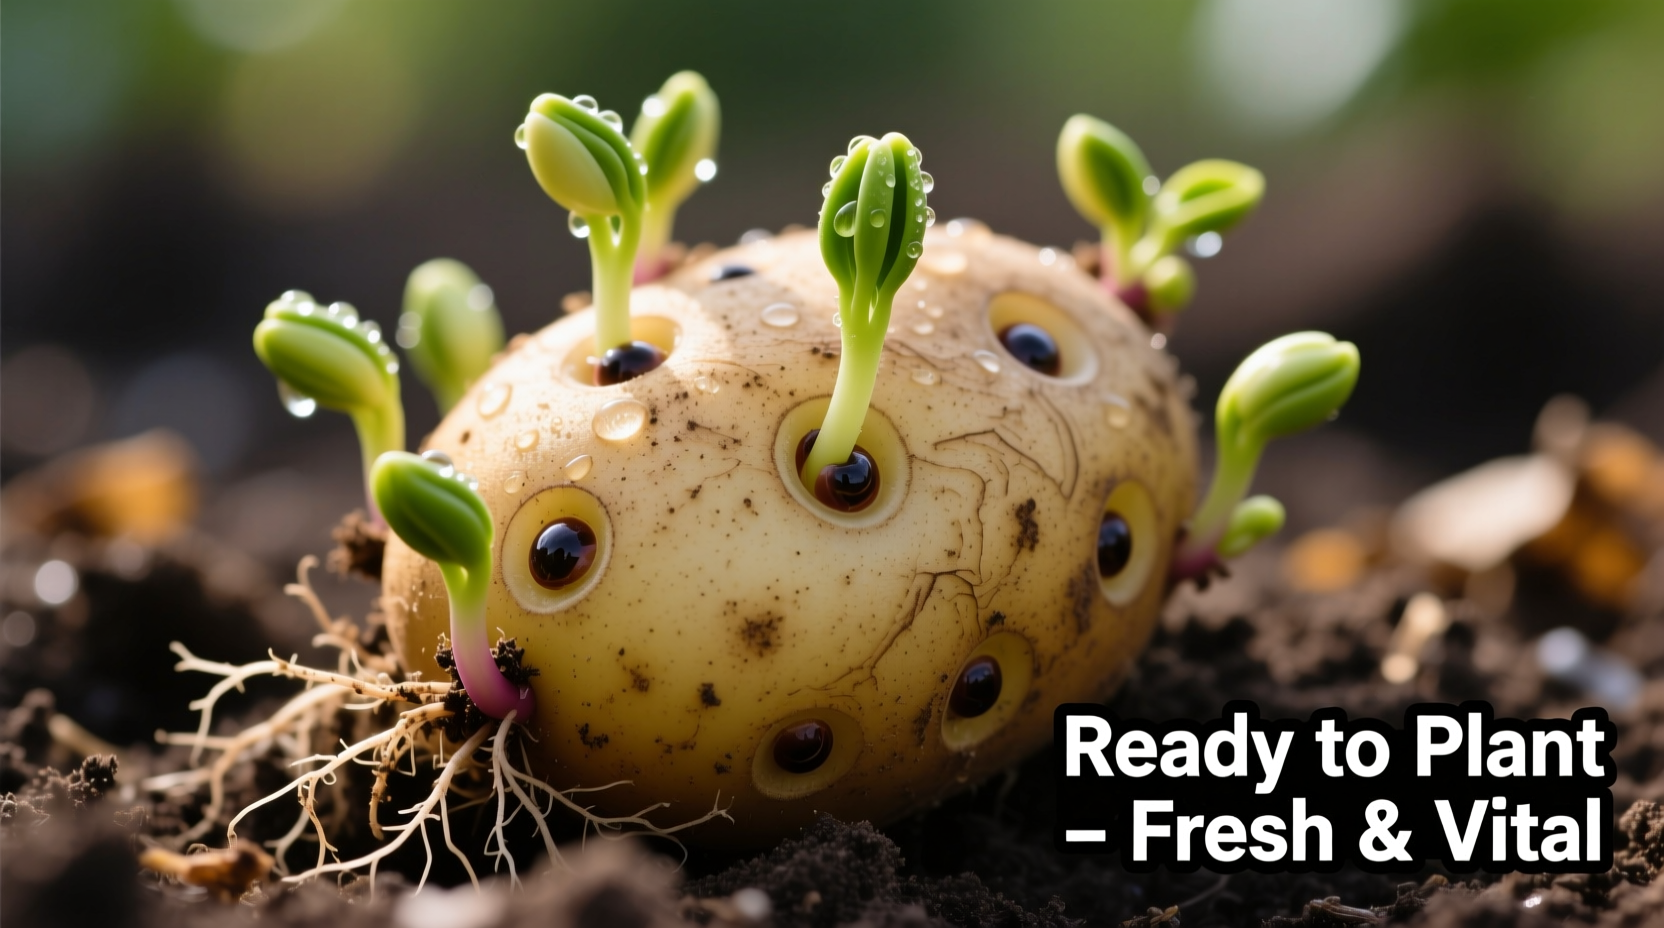
Potato eyes are buds found in small pits across the surface of a potato. These buds can sprout when conditions are right. The sprouts grow into stems and leaves, while roots form below the soil. As the plant develops, underground stems called stolons may form tubers, which are the potatoes you harvest.
You can grow potatoes from potato eyes, but the eye must remain attached to a piece of potato or another suitable planting section. A tiny eye removed from the skin by itself usually lacks the stored energy needed for reliable growth. A potato section provides both the bud and the food supply that help the young plant get started.
For the best results, use certified seed potatoes from a garden center, farm supplier, or reputable seed seller. Potatoes from a grocery store may sprout, but they may have been treated to slow sprouting. They may also carry diseases or behave differently from varieties selected for home planting. A sprouting grocery potato is not automatically unsafe to plant, but it is a less reliable choice.
Source: www.pinterest.com
Healthy eyes
Look for firm buds that are beginning to swell or form short sprouts. Avoid soft, slimy, or badly damaged areas.
Firm potato flesh
Choose potatoes that feel solid and have no wet rot, foul smell, or large sunken spots.
Suitable planting stock
Certified seed potatoes offer a more dependable starting point than unknown potatoes saved from a kitchen bag.
Do You Need to Remove the Eyes Before Planting?
No. The eye should stay attached to a piece of potato. When you cut a potato for planting, each section needs enough flesh to support the sprout until roots and leaves begin to grow. Cutting away the eye alone removes the part that can form a new shoot and leaves little stored energy for the plant.
Best practice
Keep one or two healthy eyes on each planting piece, along with a solid piece of flesh.
When Is the Best Time to Plant Potatoes in the USA?
Plant potatoes in early spring when the soil is workable and has warmed to around 45 degrees Fahrenheit or above. Potatoes tolerate cool weather, but cold, wet soil can delay sprouting and raise the risk of seed-piece decay. In many regions, gardeners plant a few weeks before the last expected spring frost if the soil is ready, though local conditions should guide the decision.
The right date varies across the country. Gardeners in parts of the South may plant in late winter, while those in northern states often wait until spring. Some areas with mild summers also support a second crop in late summer for a fall harvest. Hot climates can make summer planting difficult because tuber growth slows when soil temperatures rise too high.
Check your local extension service for planting dates and variety recommendations. A calendar is a helpful guide, but soil condition matters just as much. If your garden is muddy, compacted, or still very cold, waiting a little longer is usually better than placing seed pieces in poor conditions.
Source: www.pinterest.com
Southern states
Plant during a suitable late-winter or early-spring window when the soil is no longer cold and saturated.
Midwestern and northeastern states
Plant in spring when the soil can be worked without clumping and temperatures are suitable for growth.
Northern and high-elevation areas
Use the local frost calendar and select a variety that can mature within the shorter growing season.
Warm regions
Consider fall planting where local guidance supports it, and avoid periods when soil heat would hinder tuber growth.
Can You Plant Potatoes After They Start Sprouting?
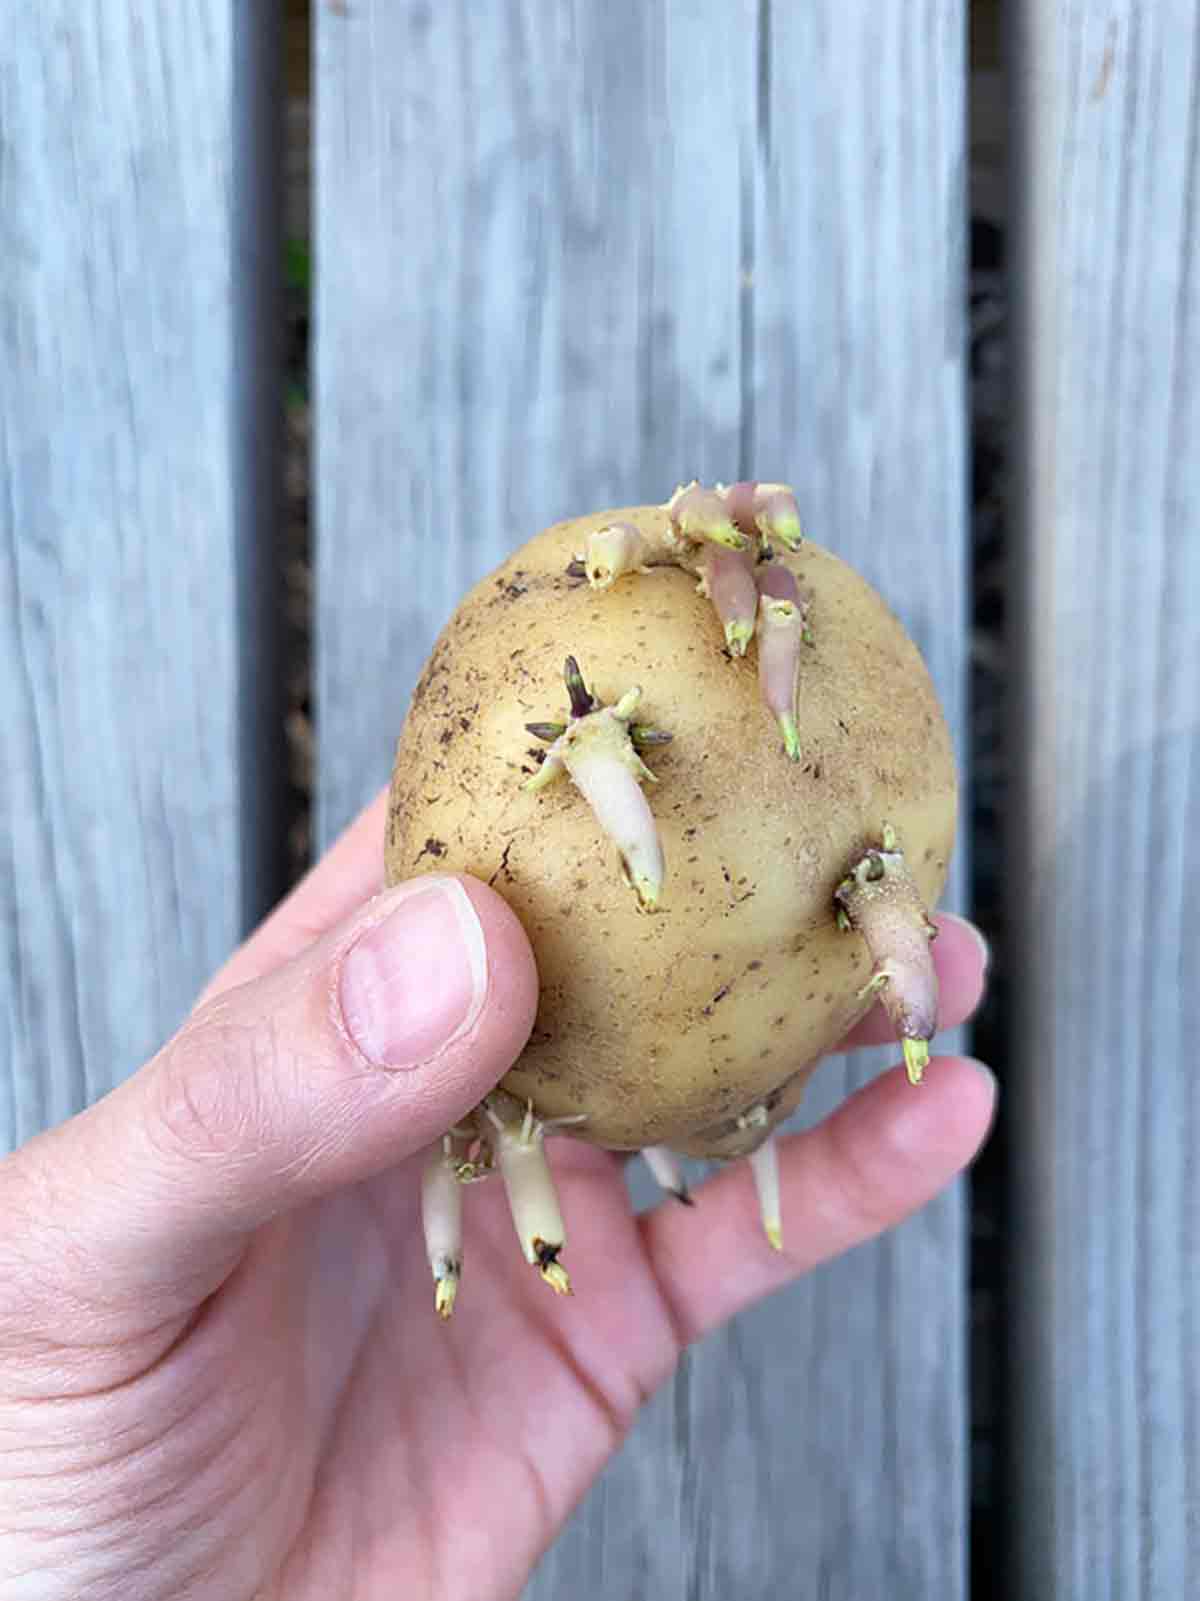
Yes. Short, firm sprouts are often a useful sign that a potato eye is active. If the sprouts are long, pale, and fragile, handle the potato gently and avoid breaking them off. You can still plant a healthy potato with long sprouts, but it may need extra care during planting. Do not use seed pieces that are rotting or badly shriveled.
Ideal sprout condition
Short, sturdy sprouts are easier to handle than long, thin shoots.
What You Need Before Planting Potato Eyes
Gather your seed potatoes, a clean sharp knife if cutting is needed, loose soil, compost or another suitable soil amendment, water, and a trowel or garden fork. Choose a sunny site that receives about six to eight hours of direct sunlight a day. Potatoes need room below the surface, so avoid shallow beds with compacted soil.
Potatoes grow in many garden soils, but they perform best in well-drained soil with plenty of organic matter. Heavy clay can hold too much water and restrict tuber growth. If your soil is dense, consider a raised bed or a large container with drainage holes. Do not fill a container with garden soil alone if it becomes hard and compact when wet.
A soil test can help you understand the pH and nutrient levels in your garden. Potatoes generally prefer slightly acidic soil, often around pH 5.0 to 6.0. Avoid adding lime or large amounts of fertilizer without a clear need, because excessive nutrients or the wrong soil conditions can cause problems.
Source: ar.inspiredpencil.com
Seed potatoes
Choose a variety suited to your region and the kind of potatoes you want to harvest.
Clean cutting tool
Use a sharp knife and clean it before cutting seed potatoes, especially when handling several lots.
Loose growing medium
Use well-drained soil enriched with mature compost when needed.
Sunlight and drainage
Pick a sunny spot where water drains freely and plants have enough room to spread.
Should You Use a Garden Bed or a Container?
Both options can work. A garden bed can support several plants and makes it easier to build rows or mounds. A container can suit a patio or small yard, but it must be large enough for root growth and have open drainage holes. Use a container designed for growing food, and make sure it can hold enough soil without drying out too quickly.
For small spaces
Choose a large, deep container rather than a small flowerpot. Add soil as the plant grows and check moisture more often.
How to Prepare Potato Eyes for Planting
Prepare your seed potatoes before they go into the soil. Small potatoes can often be planted whole if they have healthy eyes. Larger potatoes can be cut into sections to make better use of the planting stock. Each section should contain at least one healthy eye and enough firm flesh to support early growth.
Cut the potato with a clean, sharp knife. Make pieces that are roughly 1.5 to 2 ounces when practical, though the exact size can vary with the variety and the number of eyes. Avoid tiny scraps with little flesh. If a cut section has several eyes, you can keep them together or divide the potato into larger pieces, as long as each piece has a healthy bud and enough stored food.
After cutting, leave the pieces in a cool, airy place out of direct sunlight so the cut surfaces can dry and form a protective layer. This process is called curing or suberization. It helps reduce the chance of decay after planting. The time needed depends on temperature, humidity, and airflow, so check the pieces rather than relying on a fixed number of hours.
Source: tipsbulletin.com
Inspect first
Discard any section with wet rot, a foul smell, or extensive damage.
Keep eyes on each piece
Aim for one or two healthy eyes per piece, with more than one when practical.
Let cuts dry
Wait until the cut surface is dry to the touch before planting, and keep pieces away from excess moisture.
Should Potato Eyes Face Up or Down?
Place the eye or sprout facing upward when you can identify its direction. This gives the new shoot a direct path toward the surface. If the eye’s direction is unclear, do not worry too much. Potato sprouts can grow toward the light, although planting with the eye facing up is a simple way to help the plant get started.
Plant gently
Set each piece into the hole without snapping off its sprouts or scraping away the eyes.
How to Plant Potatoes From Potato Eyes Step by Step
Once your seed pieces are ready and the soil is suitable, plant them in a prepared bed or container. The main goals are to give each plant enough room, cover the seed piece with soil, and keep the root zone moist without making it soggy. Follow these steps for a straightforward start.
Source: ar.inspiredpencil.com
Step 1: Prepare the soil
Loosen the soil to a depth of about 8 to 12 inches where possible. Remove large stones and break up hard clumps. Mix in mature compost if the soil needs more organic matter.
Step 2: Make planting holes or a trench
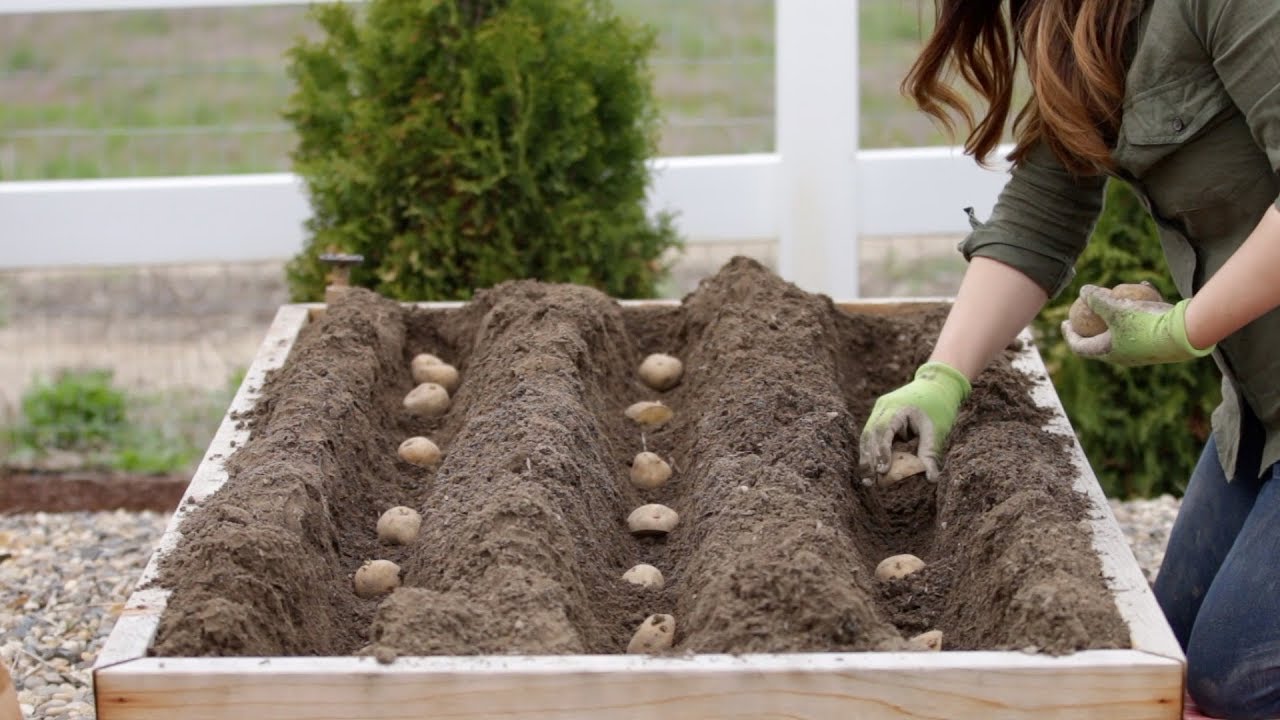
Make holes about 3 to 4 inches deep, or prepare a trench of similar depth. For many common varieties, leave about 10 to 12 inches between seed pieces and about 2 to 3 feet between rows.
Step 3: Set the seed pieces
Place one potato piece in each hole with the eye or sprout facing upward when possible. Do not crowd several large pieces into one small hole.
Step 4: Cover with soil
Cover each piece with 3 to 4 inches of loose soil. Press gently to settle the soil, but do not pack it down hard.
Step 5: Water lightly
Water enough to moisten the soil around the seed piece. If the soil is already wet, wait until it drains before adding more water.
Step 6: Mark the row
Use a garden marker or label to record the variety and planting date. This helps you track growth and estimate harvest timing.
How Deep Should You Plant Potato Eyes?
For a typical garden bed, set seed pieces about 3 to 4 inches below the soil surface. Later, add more soil around the stems as the plants grow. This method, called hilling, helps cover developing tubers and protects them from light. In very loose soil or certain container systems, planting depth may differ, so follow local extension advice for your soil and growing setup.
Avoid shallow planting
Exposed tubers can turn green when sunlight reaches them.
Avoid overly wet planting spots
Deep holes in poorly drained soil can trap water around the seed pieces and encourage rot.
How to Plant Potato Eyes in a Container
Use a large container with drainage holes and enough room for several inches of soil below the seed pieces. Add a layer of potting mix, place the pieces with space between them, then cover with about 3 to 4 inches of mix. As stems grow, add more mix around them while leaving the upper leaves exposed. The container should remain moist but never sit in standing water.
Watch moisture
Containers often dry out faster than garden beds, especially in hot, windy weather.
How to Care for Potato Plants After Planting
Potato plants need steady moisture, sunlight, and enough soil around their stems to protect new tubers. Shoots may take a few weeks to appear, depending on soil temperature, seed-piece health, and variety. During this period, keep the soil lightly moist and avoid digging around to check for sprouts because this can disturb new roots.
Once the plants emerge, check the soil before watering. Water when the upper layer begins to dry, then soak the root zone without flooding it. A regular supply of water is especially useful when plants flower and form tubers. Sudden changes between very dry and very wet soil can lead to uneven growth and tuber defects.
As stems reach about 6 to 8 inches tall, draw loose soil around the base of each plant, leaving the top leaves uncovered. Repeat as the stems grow and tubers begin to form. Hilling protects tubers from sunlight and gives them more covered space to develop. You can also use clean straw or another suitable mulch to conserve moisture, but do not rely on a thin layer that leaves tubers exposed.
Source: qaqooking.wiki
Water consistently
Keep the root zone moist but not saturated. Adjust watering to rainfall, soil type, and container size.
Hill the plants
Add soil around the stems as they grow, keeping the leaves clear of the added soil.
Check for pests
Inspect the leaves for holes, clusters of insects, yellowing, or other signs of stress.
Limit competition
Remove weeds while they are small so they do not compete for water and nutrients.
Do Potato Plants Need Fertilizer?
Potatoes need nutrients, but more fertilizer does not always mean a larger harvest. Too much nitrogen can encourage leafy growth at the expense of tubers. Use a soil test where possible and follow the label on any fertilizer you apply. Compost can help improve soil structure, but it should not replace a clear nutrient plan when your soil lacks key elements.
Avoid excess nitrogen
Use a balanced, suitable fertilizer based on soil needs instead of applying heavy doses without testing.
How Long Do Potatoes Take to Grow?
Many potato varieties need roughly 70 to 120 days from planting to reach maturity, although early varieties may be ready sooner and late varieties may need longer. Weather, soil conditions, planting stock, and the variety all affect the timing. Use the maturity information supplied with your seed potatoes as a guide rather than treating any day count as a guarantee.
You can often harvest a few small new potatoes while the plant is still green. These potatoes have thin skins and are best eaten soon after harvest. For a full crop of mature potatoes, wait until the foliage yellows and dies back naturally. Once the tops die, allow the skins to firm up before digging, unless disease or severe weather requires an earlier harvest.
Source: www.pinterest.com
Early potatoes
Often produce small, tender tubers before the plant reaches full maturity.
Main-crop potatoes
Usually need a longer growing period and are suited to a larger harvest.
Signs of maturity
Yellowing and dying foliage can signal that the crop is nearing harvest, though disease can cause similar symptoms.
How Do You Harvest Potatoes Without Damaging Them?
Use a garden fork or hand tool carefully, starting several inches away from the plant’s base. Loosen the soil and lift it gently so you do not spear the tubers. Pick through the soil by hand and handle the potatoes with care. Damaged tubers are more likely to rot in storage, so set cut or bruised potatoes aside for prompt use rather than long-term storage.
Harvest in suitable conditions
Avoid digging in very wet soil when possible, since wet soil clings to tubers and makes handling harder.
Common Problems When Growing Potatoes From Eyes
Potatoes can fail to sprout or grow poorly for several reasons. Cold, wet soil can cause seed pieces to rot, while dry soil can delay growth. Damaged eyes, very small seed pieces, and unhealthy planting stock can also lead to weak plants. Check the planting conditions first before assuming the variety itself is the problem.
If the plants grow tall but form few tubers, consider excessive nitrogen, high soil temperatures, too much shade, or the variety’s natural growth pattern. If tubers appear near the soil surface, add more soil around the stems. Green skin is a warning that a potato has been exposed to light; green potatoes should not be eaten if they are green or bitter, and cooking does not reliably remove the compounds associated with greening.
Source: ar.inspiredpencil.com
Seed pieces rot before sprouting
Check for cold, waterlogged soil and damaged or poorly cured cut surfaces. Improve drainage and use healthy seed potatoes next time.
No shoots appear
Allow reasonable time for growth, then gently inspect only if needed. Seed pieces may be dormant, too cold, too dry, or decayed.
Leaves turn yellow early
Check water levels, pest damage, nutrient problems, and signs of disease. Natural yellowing late in the season can be normal.
Tubers turn green
Hill the plants and cover exposed tubers. Do not eat green or bitter potatoes, and discard badly greened tubers.
Small harvest
Review sunlight, plant spacing, moisture, variety, and fertilizer use. Crowding and heat stress can limit tuber growth.
Can You Plant a Potato With Mold?
Do not plant a potato that is soft, slimy, foul-smelling, or badly moldy. Surface marks do not all mean the same thing, but extensive decay makes the potato a poor planting choice. Discard badly affected seed stock and clean tools before preparing healthy pieces. If several plants show unusual lesions or widespread decline, ask your local cooperative extension service for help identifying the problem.
Choose healthy stock
Firm potatoes with healthy eyes offer a better chance of successful growth than damaged or decaying ones.
How Many Potatoes Can One Eye Produce?
One healthy eye can grow into a plant that produces several tubers, but the number and size vary widely. Variety, growing season, soil, water, plant health, and spacing all affect the final harvest. There is no reliable fixed number of potatoes per eye that applies to every garden.
A plant that has enough light, steady moisture, and loose soil may form a useful crop, while a stressed plant may produce only a few small tubers. More eyes do not always mean a better result if several sprouts compete for space or if seed pieces are too small. Give each planting piece room and focus on healthy growth rather than counting eyes alone.
Source: spice.alibaba.com
Use sensible spacing
Leave about 10 to 12 inches between planting pieces for many common varieties, adjusting to the variety and growing method.
Keep conditions steady
Provide sun, drainage, regular moisture, and enough soil cover as the plant grows.
Frequently Asked Questions
Q
Can I plant potato eyes without cutting the potato?
Yes. You can plant a small potato whole if it is healthy and has visible eyes. Whole potatoes do not need a cut surface to heal, and they retain their stored food. Large potatoes can be divided into sections to make more planting pieces, provided each section has at least one healthy eye and enough flesh.
Q
How many eyes should each potato piece have?
Aim for at least one healthy eye per piece, with two eyes when practical. Each section also needs enough firm potato flesh to support early growth. Very small pieces with little stored food may dry out or rot before they establish a strong plant.
Q
Can I grow potatoes from supermarket potatoes?
Sometimes. Grocery store potatoes may sprout and grow, but some have been treated to slow sprouting and may carry diseases. Certified seed potatoes are generally a more reliable choice for a home garden. If you use a grocery potato, choose a firm, healthy one and understand that the result is less predictable.
Q
How often should I water potatoes after planting?
Water when the soil begins to dry, keeping the root zone evenly moist without leaving it waterlogged. The right schedule depends on rainfall, temperature, soil type, and whether you grow in a bed or container. Containers often need more frequent checks because they can dry out faster.
Q
Can I plant potato eyes in a pot?
Yes. Choose a large container with drainage holes and use a loose growing mix. Plant the seed pieces about 3 to 4 inches deep, leave enough space between them, and add more mix around the stems as they grow. Check moisture often and make sure excess water can drain away.
Q
What should I do if my potato eyes do not sprout?
First, give the seed pieces time to grow because sprouting can be slow in cool soil. Check whether the soil is too wet, too dry, or too cold. If a piece has become soft, foul-smelling, or rotten, remove it and replace it with healthy planting stock. Avoid digging up every piece too early, since this can damage developing roots.
✦ Wrapping Up
Conclusion
Learning how to plant potatoes from potato eyes is a simple way to start growing your own food at home. Begin with healthy seed potatoes, keep at least one strong eye on each cut piece, let the cut surfaces dry, and plant in loose soil with good drainage. Give each piece room, cover it with a few inches of soil, and water when needed.
Once the plants emerge, keep the soil moist but not soggy, add soil around the stems as they grow, and watch for pests or exposed tubers. Choose a planting date that fits your local climate and the variety you grow. With steady care and realistic expectations, a small garden bed or large container can produce a useful potato harvest.
💡 Key Takeaway
Start with certified seed potatoes and check your local extension service for the best planting window in your area. Prepare healthy eye sections, plant them 3 to 4 inches deep in well-drained soil, and keep the growing area evenly moist.