
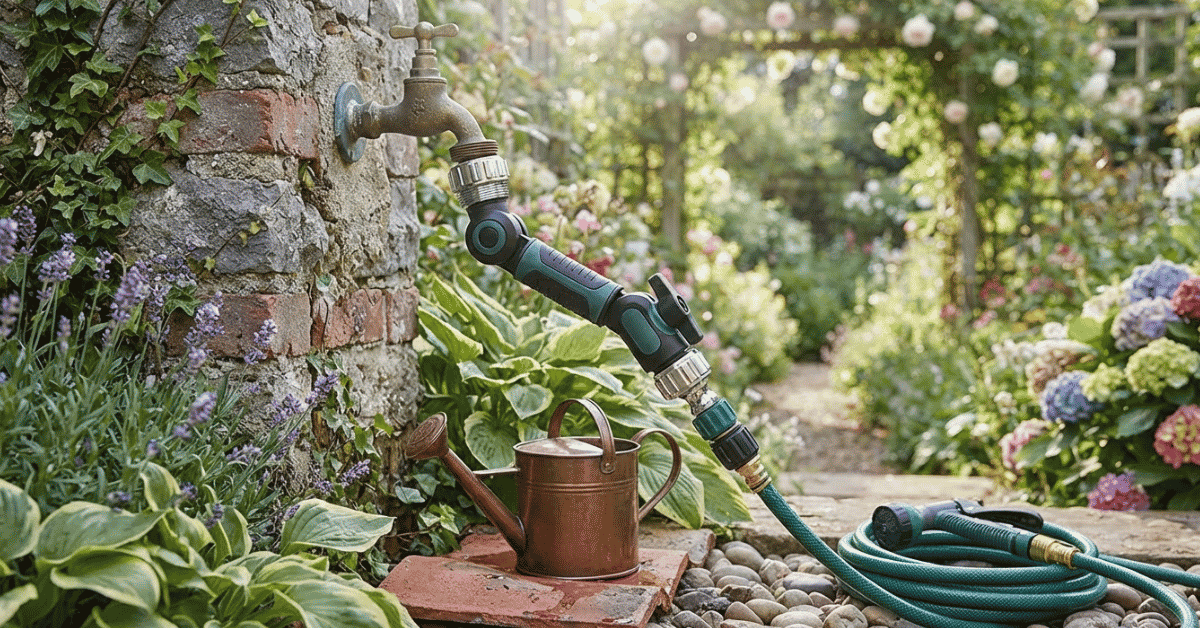
Tired of bending low to reach your tap? A good outdoor garden faucet extender saves your back and time. Read my guide to find your perfect fit today!
I used to hate my backyard tap. It sat so low to the wet ground. I had to crawl in the mud just to turn it on. My knees would hurt every single time. Then, I found a way to bring the tap to me. It changed how I work in my yard. Let me show you why this tool is a total game changer.
Why Do I Need an outdoor garden faucet extender?
You might think your low tap is just a small annoyance. I thought that too for three long years. But an outdoor garden faucet extender is worth every penny.
It moves the handle up to where you stand. You do not have to reach behind thorny bushes anymore. I used to scratch my arms on my rose vines every day. Now, the valve sits high on a sturdy post. It is right at my waist. I can turn it with one hand. It also lets me hook up two or three hoses at once. This is great if you have a big lawn. You save your back from deep pain. It makes watering your plants feel like a fun breeze. I really wish I had bought one sooner.
The Day I Finally Had Enough
Sometimes, a bad day leads to a great fix. Let me tell you about my worst Monday.
A Cold Muddy Mess
It was a very chilly morning in April. I had just planted new seeds in my back beds. I went to turn on the water. The tap was tucked deep behind a big wood pile. I had to squat down in the damp dirt. As I reached back, my foot slipped on a wet rock. I fell right into a puddle of cold mud. My clean pants were ruined in a second. I was cold, wet, and very mad.
Looking For a Better Way
I sat on my porch and looked at the tap. It was too low and too far away. I went to my shed to find a scrap hose. I thought about how to move the tap. I searched for a tool to lift the valve. That is when I saw a tall metal stand online. It looked like a small pole with a tap on top. I bought it that night. I knew I never wanted to crawl in the mud again.
What to Look for in an Extender
Not all tools are built the same. You need to pick one that stays strong.
Metal vs Plastic Parts
I have tried the cheap plastic ones. They look okay at first. But the hot sun makes them weak. They crack and leak after just one summer. I now only use solid brass or steel. Brass stays strong even in the rain. It does not rust or break when you turn it hard. Metal costs more, but it lasts much longer.
Stable Base Options
Your extender needs to stay still. Some have a spike you push into the dirt. These are okay for soft soil. I prefer the ones you can bolt to a post. I bolted mine to a thick wood 4×4. It does not budge at all. If it shakes, the pipes might leak. Make sure yours feels very firm.
Comparing Top Extender Types
I tested four kinds last year. Here is what I found.
| Type of Extender | Ease of Setup | Durability | Best For |
|---|---|---|---|
| Wall Mount | Hard | Very High | Brick or wood walls |
| Ground Spike | Very Easy | Medium | Small flower beds |
| Free Stand | Easy | High | Open yards and lawns |
| Multi-Tap | Easy | High | Running two hoses |
Export to Sheets
My Easy Setup Process
You do not need to be a pro to do this. I did it all by myself in an hour.
Finding the Right Spot
I picked a spot three feet away from my house. This gave me room to walk around it. I wanted it near my main garden path. I made sure the ground was flat. If the spot is bumpy, the stand will lean. I spent ten minutes just picking the best place.
Connecting the Main Hose
You need a short “leader” hose to start. This hose runs from the wall tap to the stand. I bought a thick, five-foot black hose. I screwed one end to the house. I ran the other end to the bottom of the stand. I made sure to use a small rubber washer. This stops those pesky drips.
- Always use a fresh rubber washer.
- Hand tighten first, then use a wrench.
- Do not over tighten or you might crack the seal.
- Check for leaks as soon as you turn it on.
Real Life Benefits I Noticed
After a month, I saw how much better my life was. It was not just about my back.
No More Scratched Arms
My old tap was next to a prickly bush. I used to get red cuts on my skin every day. Now, my tap is out in the open. I reach out and grab the handle easily. My skin is clear and I am much happier. It sounds like a small thing, but it feels big.
Faster Watering Runs
I can now fill my big watering can in half the time. The water pressure feels better on the high tap. I do not have to untangle the hose from the wood pile. I just grab the nozzle and go. I save about ten minutes every morning. That is more time to enjoy my coffee on the deck.
Tips for a Leak-Free Summer
A leaking tap is a waste of money. Here is how I keep mine dry.
Using Plumber Tape
I use white tape on all the metal threads. It is very cheap and easy to use. I wrap it around three times. This fills the small gaps in the metal. It stops water from spraying out the side. I do this every spring.
Checking the Seals
Rubber seals get dry and flat over time. I check mine once a month. If a seal looks cracked, I swap it out. You can buy a big bag of seals for a few dollars. It is a smart way to keep your gear working.
Winter Care for Your Tap
Ice is the enemy of any yard tool. You must protect your tap in the cold.
Draining the Lines
When the air gets cold, I shut off the main tap. I unhook the leader hose from the wall. I let all the water drain out of the stand. If water stays inside, it will turn to ice. Ice expands and will burst the metal pipe. I learned this the hard way two years ago.
Storing the Extender
If you have a spike stand, pull it out of the ground. I put mine in my dry shed. I wipe it down with a rag first. This keeps it from getting rusty. If yours is bolted down, cover it with a thick cloth. A small tarp works well too.
Common Problems and Quick Fixes
Even the best gear has a few bad days. Here is what to do.
The Handle is Hard to Turn
Sometimes dirt gets inside the valve. I spray a little bit of oil on the handle. I turn it back and forth a few times. This loosens it up fast. Never force a stuck handle or it might snap.
Low Water Pressure
If the water is slow, check for a kink. My leader hose used to get pinched behind a pot. I moved the pot and the water was strong again. Also, check the small screen in the faucet. Sometimes tiny rocks get stuck in there. Just rinse the screen off in a sink.
Why Quality Really Matters
I once bought a ten-dollar plastic tap. It was a big mistake.
The Cheap Plastic Trap
The plastic tap felt light and easy. But after one week in the sun, it turned grey. Then, the handle just snapped off in my hand. Water sprayed all over my face. I had to run to the house to shut it off. I spent more time fixing it than using it.
The Brass Advantage
My new brass extender is heavy. It feels solid when I touch it. It has been out in the rain for a year. It still looks brand new. It does not leak a single drop. It is better to pay more once than to pay less many times.
Improving Your Garden Space
A tap stand can be part of your yard style. You can make it look very nice.
Adding a Stone Base
I put flat grey stones around my tap stand. This stops the ground from getting muddy. It looks like a pro put it in. It also gives me a dry place to stand. You can find these stones at any big store.
Hanging a Hose Reel
I added a small hook to my wood post. Now, my hose hangs neatly right by the tap. It does not lay in the grass. This keeps the hose clean and safe from the lawn mower. It makes the whole yard look tidy.
Final Thoughts on Your New Tap
Moving your tap is a gift to yourself. You will feel the joy every day.
No More Pain
My back feels great. I do not have to bend and twist. I stand tall and water my roses. It is a simple joy that makes a big change. If you have a low tap, please fix it today.
A Better Garden Experience
Working in the yard should be fun. It should not be a chore that hurts. A good extender takes away the stress. You can focus on your plants and the sun. It is the best tool in my whole shed.
FAQs
Can I hook two hoses to an outdoor garden faucet extender?
Yes, you can buy a “Y” splitter. It screws onto the top tap. This lets you run a hose to the lawn and another to your pots. Learn more about hose splitters.
Will an outdoor garden faucet extender lower my water pressure?
Not if you use a high-quality leader hose. Make sure the hose is not too long or thin. A short, thick hose keeps the flow strong. Learn more about water flow.
How deep should I push a ground spike extender?
You should push it at least ten inches deep. If the soil is dry, water it first to make it soft. This keeps the tap from leaning over. Learn more about soil prep.
Do I need a wrench to install an outdoor garden faucet extender?
Most parts are hand-tight, but a wrench helps. I use a wrench to make the final turn. This ensures there are no slow drips or leaks. Learn more about basic tools.
Are there different heights for outdoor garden faucet extenders?
Yes, most are about twenty to thirty inches tall. Pick one that is easy for you to reach. I like mine at waist height for best comfort. Learn more about tap heights.