The best square foot gardening tools are a measuring tape, garden trowel, hand fork, watering can or hose, plant labels, and a seed spacing template. These simple tools help you mark a raised bed, plant seeds at the right distance, care for crops, and make the most of a small garden.
Across the United States, many home gardeners grow vegetables in raised beds, patios, and small backyards. Square foot gardening helps them use these spaces well. Instead of planting in long rows, you divide a growing bed into square sections. Each section holds a crop based on its mature size. The right tools make this system easier to set up and manage, even if you are new to gardening.
You do not need a shed full of gear to get started. A few hand tools, a clear grid, and a way to water your plants will cover most daily tasks. Some tools, such as a seed spacing template, can save time when you plant small seeds. Others, such as a trowel and pruning snips, help you care for crops as they grow. This guide explains what each tool does, what you can skip, and how to choose tools that fit your bed and budget.
Source: img.lazcdn.com
What Are Square Foot Gardening Tools?
Square foot gardening tools are the basic items used to measure, plant, water, and maintain a compact vegetable garden. The system divides a bed into square sections, often measuring 1 foot by 1 foot. Each square can hold one or more plants, depending on the crop and its spacing needs. The tools help you keep the layout clear and give each plant enough room to grow.
This method is often linked to raised beds because they are easy to divide into a grid. However, you can also use square foot spacing in a ground-level plot or a large container. The same basic tools work in each setting. Your bed size, soil type, crop choices, and physical comfort will affect which tools you need most.
Source: i.pinimg.com
For measuring
Use a tape measure, ruler, or marked string to lay out equal squares.
For planting
Use a hand trowel, dibber, hand fork, or seed spacing template.
For watering
Choose a watering can with a gentle rose or a hose with an adjustable spray.
For upkeep
Keep plant labels, pruning snips, gloves, and a small bucket close at hand.
How the One-Foot Grid Works
A grid gives each crop a clear growing space. You can make one from garden-safe wooden lath, durable string, or another material that can handle outdoor use. Measure the bed first, then mark lines at one-foot intervals in both directions. Secure the lines so they stay in place when you water or tend the plants.
Measure the inside of the bed
Use the planting area, not the outside frame, to plan the grid.
Keep lines easy to see
Choose a layout that remains clear as leaves spread across the bed.
The Essential Tools for a Square Foot Garden
You can begin with a small set of reliable hand tools. Focus on tools that solve a real problem in your garden rather than buying a large kit. A compact raised bed rarely needs the same equipment as a large field. Hand tools are often easier to control in tight spaces and help you work around young plants without disturbing nearby roots.
Source: i.pinimg.com
Measuring tape or ruler
Use it to measure bed dimensions, mark grid lines, and check plant spacing. A tape measure is useful for the whole bed, while a ruler helps with small planting details.
Garden hand trowel
A trowel makes small planting holes, helps set seedlings, and moves compost or potting mix. A narrow blade is useful in crowded beds.
Hand fork or cultivator
Use a small fork to loosen the soil surface and mix in light amendments where needed. Work with care around established roots.
Watering can or garden hose
A gentle flow helps wet the root zone without washing seeds away. Pick a size and reach that suit your bed.
Plant labels and a garden marker
Labels help you track crop names, varieties, and sowing dates. This is useful when young seedlings look much alike.
Garden gloves
Gloves can protect your hands from rough wood, thorns, and dirty surfaces. Choose a pair that still lets you handle small seeds.
Tools You Can Share or Replace
You do not need a separate tool for every job. A ruler can help with short grid marks, and a sturdy piece of string can act as a guide. You can use a clean finger or a simple dibber to make shallow holes for large seeds. Reuse clean plant labels when the old crop is finished, but remove faded writing before the next planting.
Start with what you own
A household ruler, a clean bucket, and a suitable watering can may cover several early tasks.
Replace only when needed
Buy a new tool when the old one is unsafe, hard to clean, or no longer does the job well.
Are Seed Spacing Templates Worth Buying?
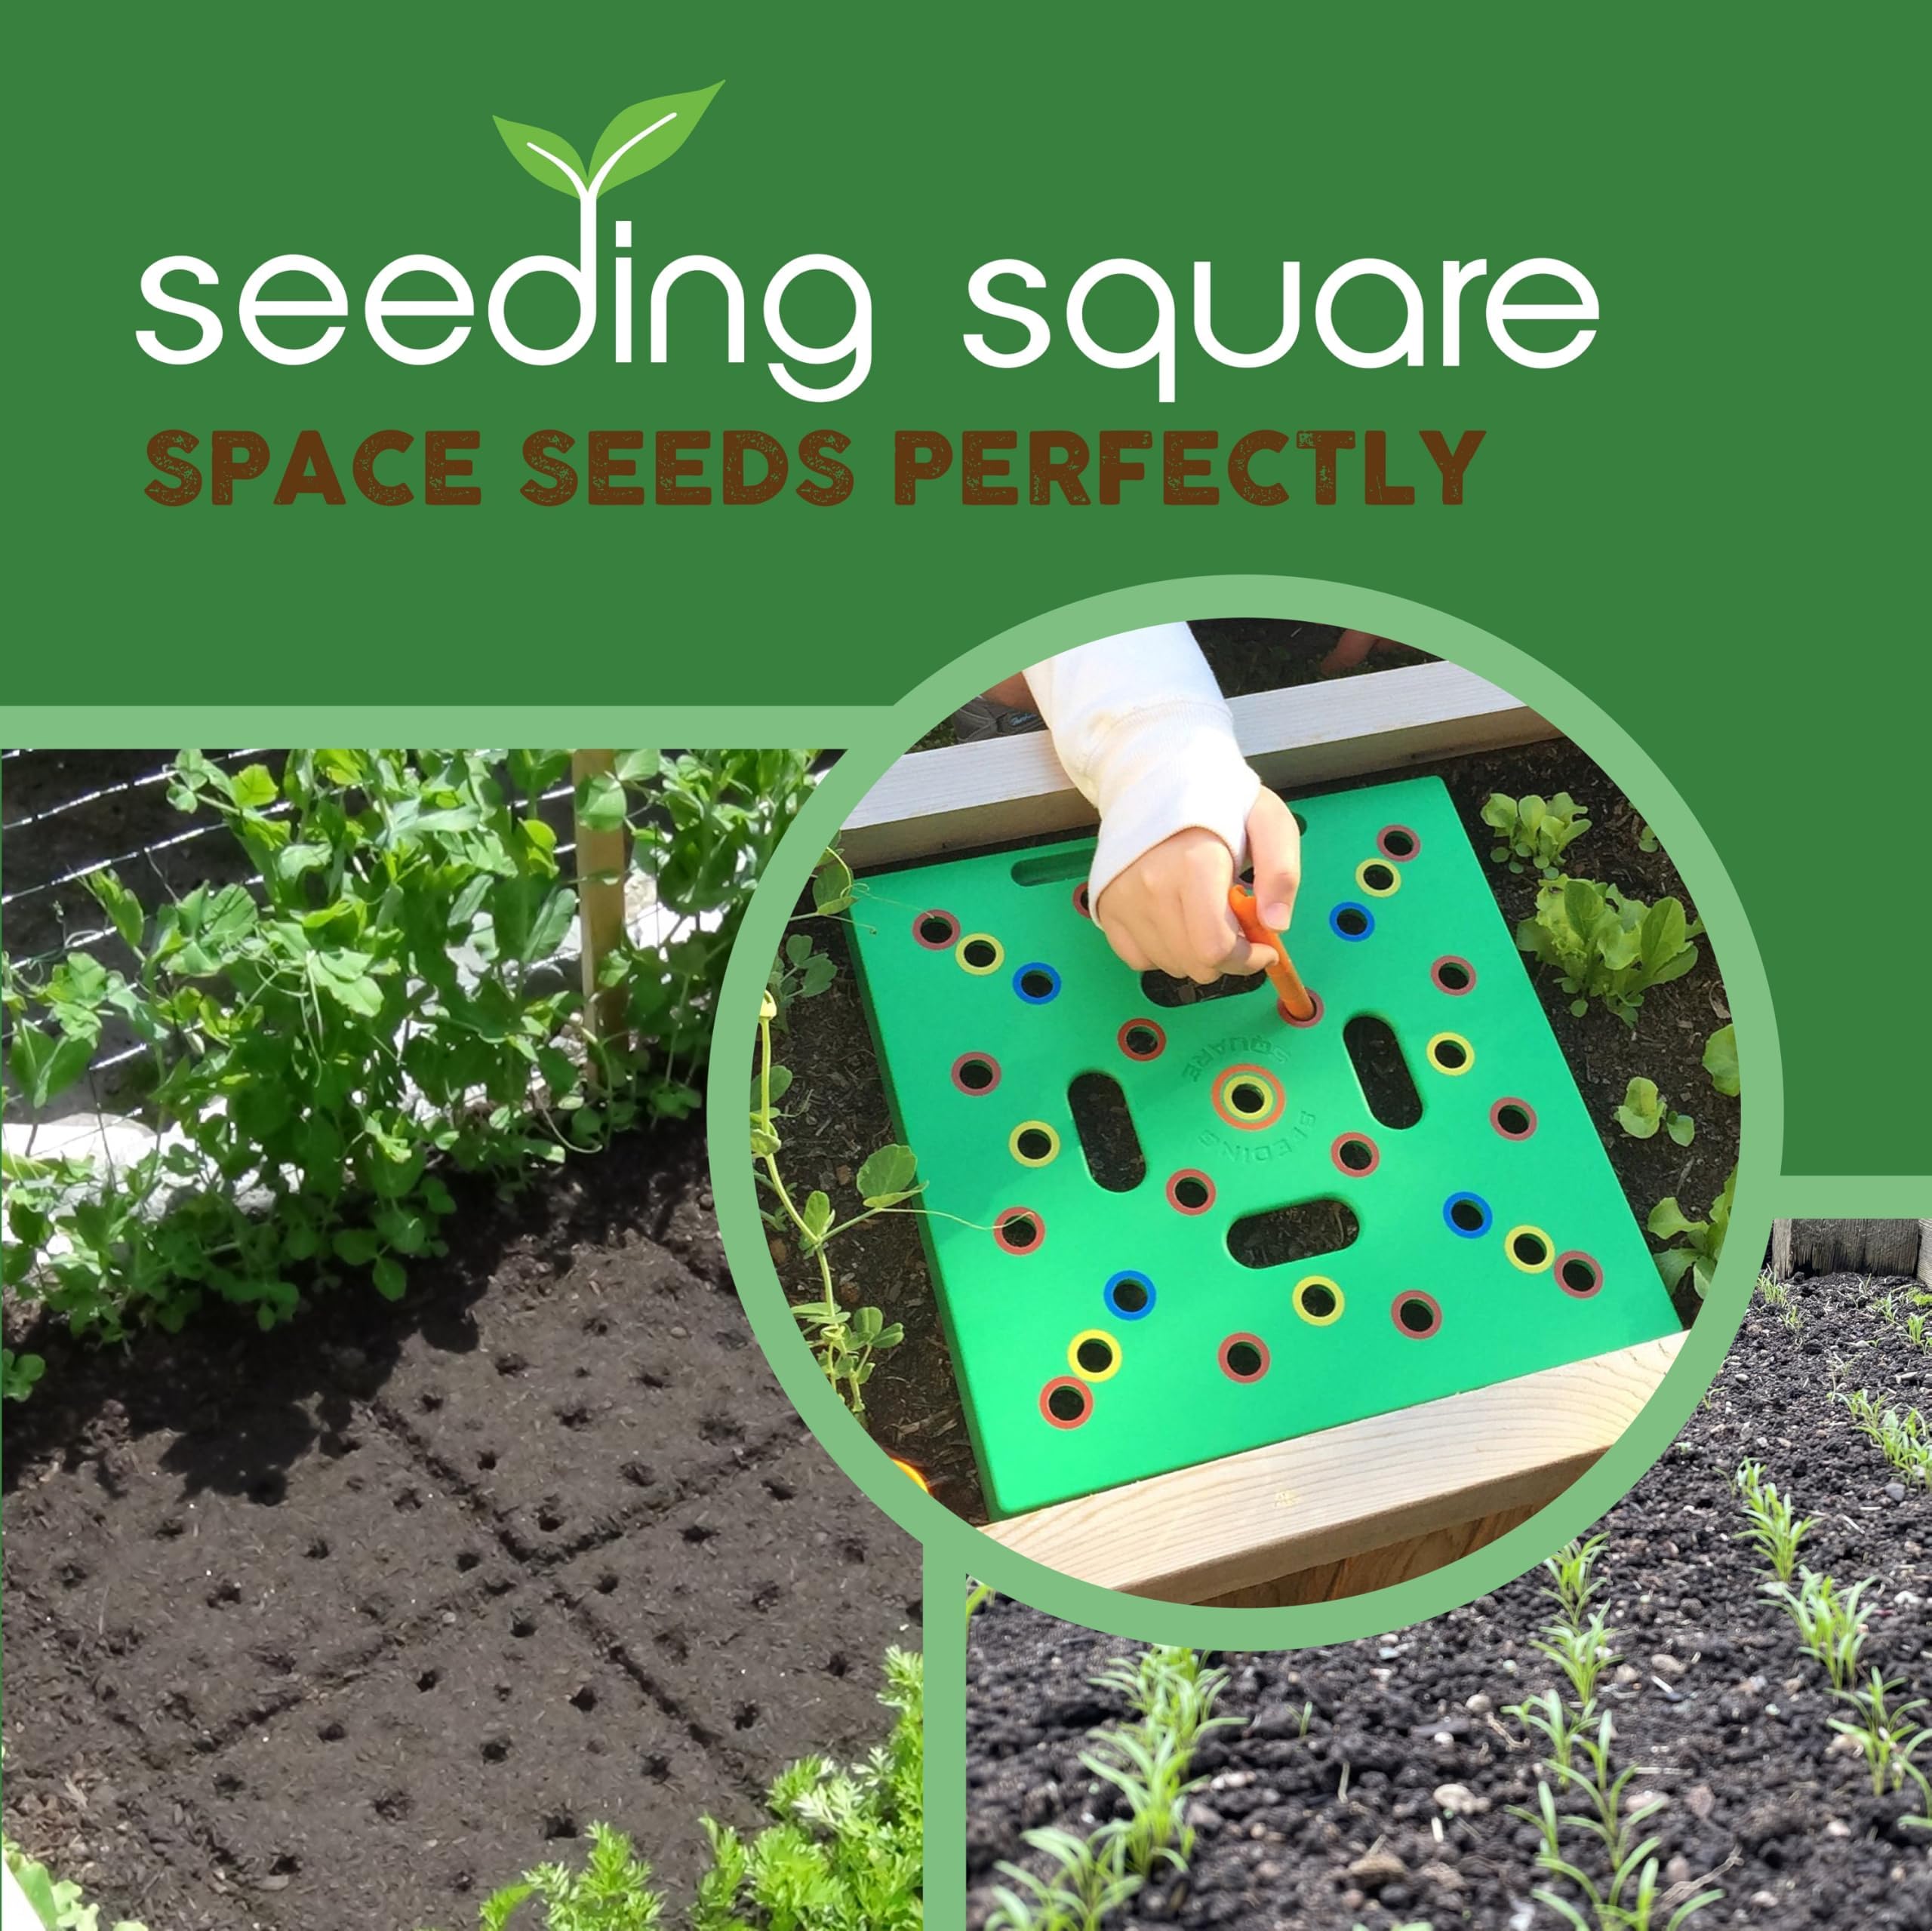
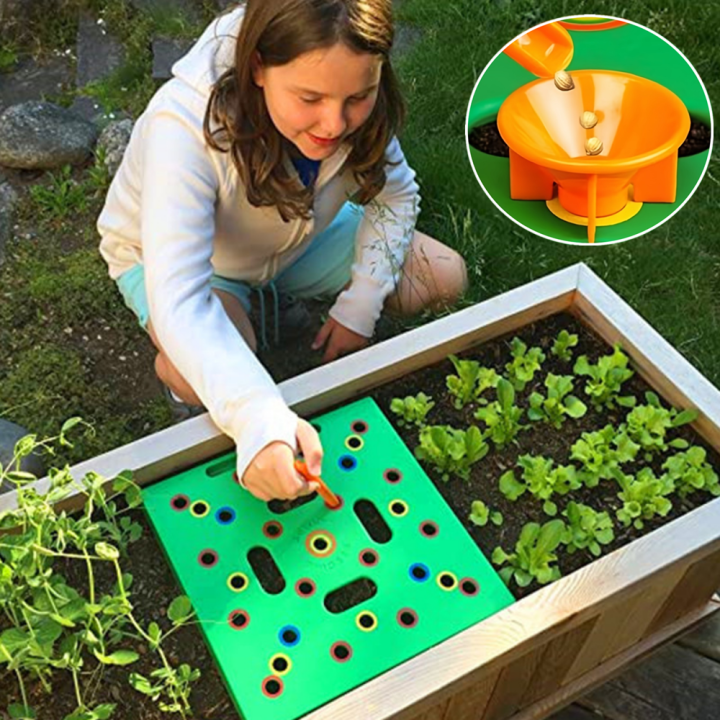
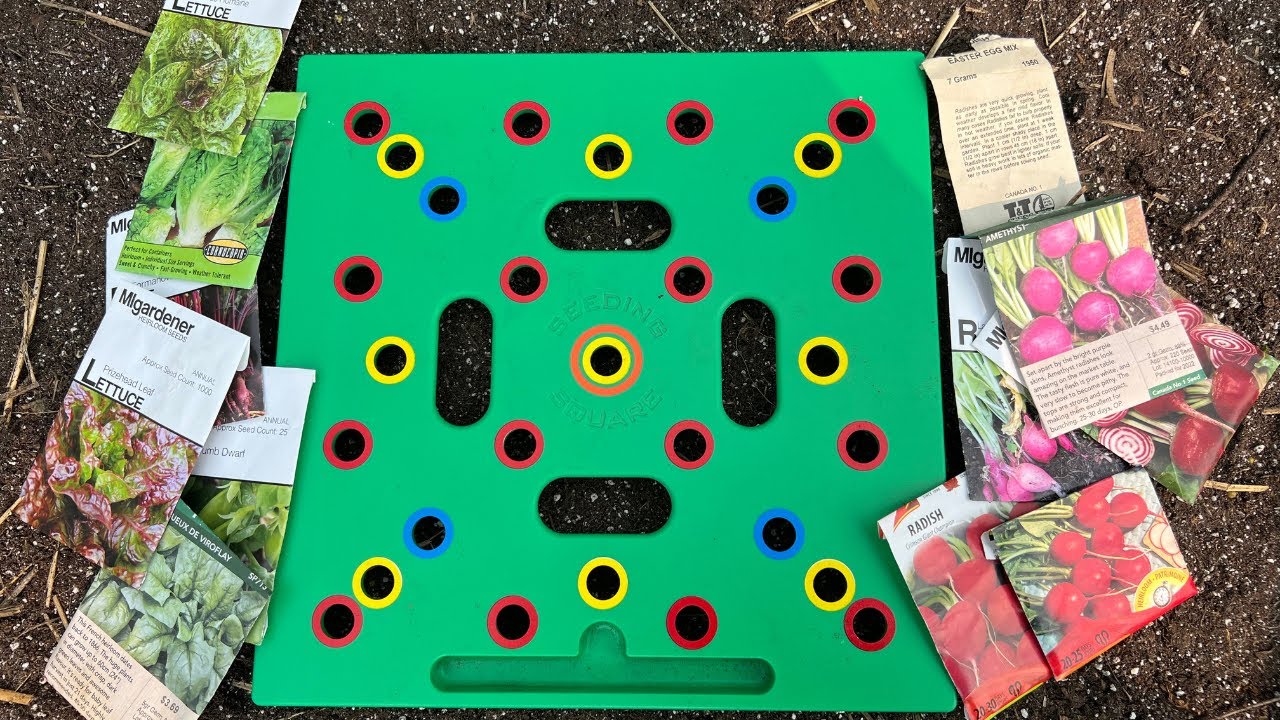
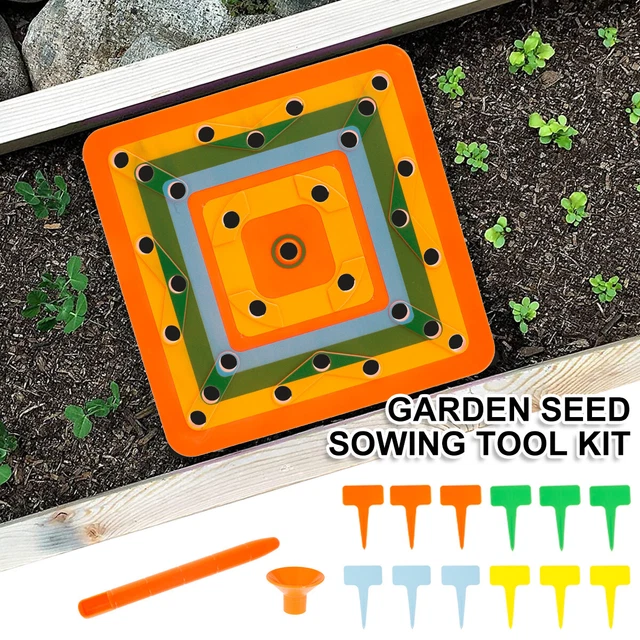
A seed spacing template can make square foot gardening easier, especially when you sow small seeds by hand. These tools help you mark planting spots in a repeatable pattern. A template such as the Seeding Square uses marked sections to guide seed placement. It can reduce guesswork, but it does not replace crop-specific spacing advice or good soil preparation.
The main benefit is consistency. Evenly spaced seeds are easier to thin and manage than seeds scattered at random. A template may be most useful for gardeners who sow many small crops or who want a clear visual guide. If you plant only a few large seeds, a ruler and your fingers may work just as well.
Source: i.pinimg.com
Helpful for small seeds
Templates can guide the placement of crops such as carrots, radishes, and some leafy greens when the design matches the seed spacing you need.
Useful for repeat planting
A reusable template helps you follow the same layout across several squares.
Not a substitute for thinning
Some seeds may fail to sprout, while others may grow too close together. Thin seedlings when the crop instructions call for it.
Not needed for every crop
Large seeds such as beans can often be spaced by hand using the packet directions.
How to Use a Seed Spacing Template
Prepare the soil first so the surface is loose, level, and free of large clods. Place the template flat on the bed and use its marked positions as a guide. Make holes to the depth listed on the seed packet, then add the seeds and cover them lightly. Lift the template carefully so you do not shift the soil or bury the seeds too deeply.
Check seed depth
The template shows where to plant, but the seed packet tells you how deep to sow.
Follow crop spacing
Use the template only when its pattern suits the crop and variety you are planting.
Water with care
Use a gentle spray or fine rose to keep the seeds in place.
Can You Make a DIY Seed Spacing Tool?
Yes. A piece of cardboard or a clean, rigid sheet can serve as a basic marking guide. Mark the positions with a ruler, then make small holes or use the marks to place seeds. Keep the guide dry and clean between uses. Replace it if it bends, breaks, or becomes hard to clean.
Use clear measurements
Measure each planting point instead of guessing by eye.
Avoid unsafe materials
Do not use a guide with sharp edges, loose fragments, or coatings that may flake into the growing soil.
Tools for Preparing Soil and Raised Beds
Healthy soil matters more than a large tool collection. Before planting, check whether the soil drains well, holds enough moisture, and feels loose enough for roots to grow. A small hand fork, trowel, bucket, and soil thermometer can help with common tasks. A soil test can also guide changes when you need to check pH or nutrient levels.
Source: i.ytimg.com
Hand fork
Loosen the top layer of soil without turning the entire bed over. Use short, gentle movements near existing plants.
Bucket or garden tub
Carry compost, collect weeds, and move small amounts of growing mix. A tub with handles is often easier to lift.
Soil thermometer
Check soil temperature when a crop needs warm or cool conditions for germination. Use crop guidance to decide when to sow.
Soil test kit or laboratory test
A suitable test can help identify soil pH and nutrient needs. Follow the test provider’s sampling directions for useful results.
Do You Need a Large Shovel?
Not always. A large shovel can help when you build a new bed or move a lot of soil, but it may be awkward in a small raised bed. If your bed is already filled and the soil is in good shape, a hand trowel and fork may be enough for routine care. Avoid stepping into raised beds, since compacted soil can limit root growth and make planting harder.
For new beds
Use a shovel or spade when you need to move heavy soil or prepare a ground-level plot.
For established beds
Use hand tools for small repairs, planting holes, and light surface work.
How to Check Soil Before Planting
Take a small amount of soil and feel its texture. Soil that is very wet may smear and compact under pressure, so wait until it is easier to work. Remove large stones and debris, then rake or smooth the surface. If plants have struggled in the past, test the soil before adding lime, fertilizer, or other amendments.
Do not add amendments at random
Use soil test results and crop needs to guide changes to pH and nutrients.
Keep the surface even
A level bed makes seed depth and watering more consistent.
Watering and Plant Care Tools
Small garden beds can dry out faster than gardeners expect, especially during hot, windy weather. A good watering tool lets you wet the root zone without flattening seedlings or washing soil out of a square. A basic watering can may suit a tiny patio bed, while a hose with a gentle nozzle can save time in a larger garden.
Source: m.media-amazon.com
Watering can with a fine rose
A rose spreads the flow into small streams or droplets. It is useful for new seeds and young plants.
Adjustable hose nozzle
Choose a gentle spray setting rather than a strong jet. Test the flow away from delicate seedlings first.
Pruning snips
Use clean, sharp snips to harvest herbs, remove damaged leaves, and trim plants when needed.
Small hand weeder
A narrow weeder can help remove weeds before they compete with vegetables for light, water, and nutrients.
How to Water Without Disturbing Seeds
Water slowly and watch the soil as you work. If water forms puddles or carries soil across the bed, reduce the flow and let the water soak in before adding more. New seeds need moisture near the surface, while established plants often need water that reaches deeper into the root zone. The right amount depends on the crop, weather, soil, and bed depth.
Check before watering
Feel the soil near the root zone rather than relying only on the surface color.
Water the soil
Aim for the base of plants when possible, especially when leaves are dense.
Watch drainage
If water remains pooled, check the soil structure and drainage rather than adding more water.
Why Clean Pruning Tools Matter
Plant snips can spread plant disease if contaminated blades move from one infected plant to another. Remove soil and plant debris after use. When you suspect a disease, clean and disinfect the blades with a method suitable for the tool and plant situation. Follow the disinfectant label and allow the tool to dry before storage.
Check blade condition
Blades should cut cleanly rather than crush soft stems.
Keep fingers clear
Close and lock the tool when not in use, and store it out of children’s reach.
How to Choose the Right Tools for Your Garden
The best tool set depends on how much space you grow in, how often you plant, and what crops you choose. A small herb bed may need little more than a trowel, labels, and a watering can. A mixed vegetable bed with several squares of carrots, beans, lettuce, and tomatoes may benefit from a seed template, pruning snips, and a hose nozzle. Buy for the jobs you do most often.
Source: picclickimg.com
Match the tool to the bed size
Compact hand tools work well in small beds. Longer-handled tools may help if you cannot comfortably reach across the planting area.
Check grip and weight
Choose handles that feel secure and tools you can lift and control without strain.
Look for easy cleaning
Smooth surfaces and simple designs are often easier to clean than tools with many tight gaps.
Consider replacement parts
For tools you use often, check whether blades, handles, or other worn parts can be replaced.
Set a budget
Spend first on tools that affect planting accuracy, watering, and daily comfort. Add specialty items only when a clear need appears.
A Basic Starter Kit by Budget
You can begin with a low-cost kit and add tools as your garden grows. The prices below are not current market quotes. They are a planning guide showing how to think about spending, since actual costs vary by retailer, material, size, and location.
Bare-bones kit
Use a ruler or tape measure, hand trowel, watering can, and homemade grid. Reuse clean containers and plant labels when suitable.
Everyday kit
Add a hand fork, gloves, durable labels, pruning snips, and a hose nozzle if needed.
Specialty kit
Consider a seed spacing template, soil thermometer, or soil testing service when your planting needs justify the extra cost.
Tools for Gardeners With Limited Reach
A raised bed should let you reach the center without leaning too far or stepping on the soil. If reaching is difficult, consider a narrower bed, a suitable long-handled hand tool, or a layout that keeps frequently harvested crops near the edge. The tool should improve comfort and control, not force you into an awkward position.
Test the reach first
Measure how far you can reach comfortably before deciding on bed width.
Choose secure grips
Look for handles that are easy to hold, even when wearing gloves.
Common Square Foot Gardening Tool Mistakes
The wrong tool can waste time or damage young plants, but most problems are easy to prevent. Choose tools that fit the task, check seed instructions, and work slowly around new growth. A grid helps with layout, yet it cannot account for every difference in crop size, soil, or weather.
Source: gardenerthumb.com
Planting too many seeds
A square does not always mean a fixed number of plants. Follow the recommended spacing for the crop and thin seedlings when required.
Using a strong water stream
A hard jet may uncover seeds, bend stems, and move soil. Use a gentler flow and let water soak in.
Working wet soil
Digging or pressing very wet soil can cause compaction. Wait until the soil is workable.
Buying tools before planning the bed
Measure the space and list your likely crops first. This avoids buying tools that do not suit the garden.
Leaving tools dirty
Soil and moisture can lead to rust and may carry plant pathogens. Clean and dry tools after use.
Assuming every square gets the same care
A leafy crop, a tomato plant, and a root crop may have different water, support, and spacing needs.
What to Do When Seeds Do Not Sprout
First, check the seed packet for the recommended depth and germination conditions. Then check whether the soil dried out, stayed too wet, or became too cold or hot for that crop. Seed age and quality can also affect germination. Adjust the conditions before changing your spacing tool or buying new equipment.
Check planting depth
Seeds planted too deep may struggle to reach the surface.
Check moisture
The seed zone should stay within the moisture range needed for germination, without becoming waterlogged.
Review the seed date
Use the packet guidance to decide how long to wait before resowing.
How to Clean and Store Garden Tools
Clean tools last longer and are easier to use. After each session, remove soil from blades, forks, and handles with a suitable brush or cloth. Dry metal parts before putting tools away, since trapped moisture can lead to rust. Store small tools in a dry place where sharp edges cannot injure anyone.
Source: m.media-amazon.com
Remove dirt
Brush off soil and plant debris before it dries hard on the tool.
Dry metal parts
Wipe blades and other metal surfaces dry before storage.
Check moving parts
Inspect pruning snips and other hinged tools for loose screws, damage, or poor movement.
Store safely
Keep sharp tools in a dry storage box or rack, away from children and pets.
When Should You Replace a Tool?
Replace a tool when its handle is cracked, its blade is badly damaged, or it cannot be cleaned and used safely. A loose handle or bent cutting blade may cause the tool to slip. Some tools can be repaired with a suitable replacement part, so check the maker’s guidance before discarding them.
Repair when practical
Replace worn parts only when the repair is suitable for the tool and restores safe use.
Do not use damaged blades
Stop using cracked, loose, or badly bent cutting tools until they are repaired or replaced.
A Simple Setup Plan for Your First Square Foot Garden
Start with a small bed and a short list of crops. A compact plan lets you learn how your soil holds water and how much care each plant needs. You can add more tools later, once you know which tasks take the most time. The goal is a clear layout that you can reach, water, and maintain with ease.
Source: i.pinimg.com
Step 1: Measure the bed
Record the inside length and width, then work out how many one-foot squares fit in the planting area.
Step 2: Make the grid
Use string or garden-safe strips to mark the squares. Secure the lines so they do not shift.
Step 3: Prepare the soil
Remove weeds and large debris, check drainage, and use soil test results to guide amendments.
Step 4: Plan each crop
Use seed packet directions and mature plant size to decide what belongs in each square.
Step 5: Plant with care
Use a trowel or spacing template as needed, and sow each seed at the right depth.
Step 6: Water and label
Water gently and label each square with the crop name and planting date.
Step 7: Check the bed often
Look for dry soil, weeds, damaged leaves, and seedlings that need thinning or support.
Example: Planning a Four-by-Four-Foot Bed
A hypothetical four-foot-by-four-foot bed has 16 square feet of planting area. If you divide it into one-foot squares, you get 16 planting sections. That does not mean every square should hold the same number of plants. A crop with large mature leaves may need much more room than a small root crop, so plan each square based on the crop’s spacing needs.
Use the grid as a guide
The grid helps you organize the space but does not set the exact plant count for every crop.
Keep access in mind
Place crops you harvest often near the edge, where you can reach them without leaning over other plants.
Leave room for growth
Account for mature plant size, airflow, support needs, and access for watering.
Frequently Asked Questions
Q
What tools do I need to start square foot gardening?
Start with a measuring tape, hand trowel, watering can or hose, plant labels, and a way to mark your grid. A hand fork and gloves are useful additions. You can make a simple seed spacing guide yourself, so you do not need to buy a specialty template at the start.
Q
Is a Seeding Square tool worth it?
It may be useful if you often plant small seeds and want a repeatable spacing pattern. It is less necessary for gardeners who plant only a few large seeds or already measure spacing by hand. Check that the template’s pattern suits your crop and follow the seed packet for planting depth and thinning.
Q
How many plants can fit in one square foot?
The number depends on the crop, variety, and its mature size. Small crops may fit several plants in one square, while a large plant may need most or all of the space. Use crop-specific spacing guidance rather than applying one plant count to every square.
Q
Can I do square foot gardening without raised beds?
Yes. You can mark a grid on a prepared patch of ground or use a suitable large container. Make sure the site has enough sunlight for your crops, drains well, and has soil suitable for food gardening. The grid and hand tools work much the same way in either setting.
Q
What is the best way to water a square foot garden?
Use a watering can with a fine rose or a hose nozzle set to a gentle flow. Check moisture near the root zone and water according to the crop, weather, and soil conditions. Avoid strong jets that can uncover seeds or wash soil from the bed.
Q
How do I keep square foot gardening tools from rusting?
Brush away soil, wipe metal parts dry, and store tools in a dry place. Check cutting blades and moving parts from time to time. Follow the manufacturer’s care instructions, especially for tools with special coatings or parts that need a specific lubricant.
✦ Wrapping Up
Conclusion
Square foot gardening tools help you make the most of a small growing space without making gardening feel like hard work. A measuring tape, trowel, hand fork, watering tool, and plant labels cover many daily jobs. A seed spacing template can make planting more orderly, but it is an optional aid rather than a must-have item.
Focus on your bed, your crops, and the tasks you repeat most often. Keep the grid clear, follow seed instructions, water with care, and clean your tools after each use. A small set of useful tools can support a healthy garden for many growing seasons.
💡 Key Takeaway
Measure your bed, mark a one-foot grid, and gather a trowel, watering tool, labels, and a measuring tape before buying specialty gear. Add a seed spacing template only if it solves a real planting need.