Your garden needs neat edges. That’s where garden edging shines. It makes everything look tidy.
It keeps plants in their place. I’ve spent a lot of time wrestling with unruly plants. Good edging saves so much frustration.
Let me share what I’ve learned.
Why Do I Need Garden Edging?
You need garden edging because it’s the unsung hero of a beautiful garden. I always thought it was just for looks. But it does so much more!
It stops grass from creeping into your flower beds. This means less weeding for me. It also gives a clean line between your lawn and garden areas.
This makes the whole yard look more finished. I remember one summer, my lawn was taking over everything. It looked messy.
Adding simple garden edging changed my whole yard’s look. It was like magic for my backyard plot!
Defining Your Garden Spaces
Think of edging as the picture frame for your garden artwork. It helps you create clear zones. You have your lawn, your flower beds, maybe a vegetable patch.
Edging clearly separates these areas. This visual separation makes your garden feel organized. It draws the eye to your plants, not the mess around them.
It also helps keep things like mulch and soil contained. No more muddy footprints from the lawn into the flowerbeds after a rain.
Preventing Grass and Weed Invasion
This is a big one for me. Grass is sneaky. It wants to spread everywhere.
Before I got serious about garden edging, my flower beds were constantly being invaded. I spent hours pulling up grass roots. They are tough!
Edging acts as a barrier. It physically stops grass runners from pushing into your beds. Some types of edging are even better at this than others.
This has saved me so much time and effort. It’s one of the main reasons I’m a huge fan of good edging.
Enhancing Curb Appeal
Let’s be honest, a good-looking garden makes your whole house look better. Edging plays a huge role in this. It adds a polished, professional look.
Even simple plant beds look more intentional with a defined edge. It makes the space feel cared for. I’ve seen yards transformed just by adding simple edging.
It shows you pay attention to detail. This kind of detail can really boost your home’s appeal.
Top Garden Edging Materials: What Works Best?
Choosing the right material for your garden edging is key. Each has its own look and feel. I’ve tried many over the years.
Some have held up better than others. Here’s a look at what I’ve found works.
Natural Stone Edging: Timeless Beauty
Natural stone edging offers a classic, rustic charm. Think of flagstone or fieldstone pieces. They blend beautifully with natural landscapes.
I love how each stone is unique. This gives a very organic look. It’s durable too.
The downside is it can be more expensive. Installation can also be more labor-intensive. You’re lifting heavy pieces of rock!
But the result is stunning and lasts for ages.
Wood Edging: Warm and Versatile
Wood edging is very popular. It’s easy to find and work with. You can use logs, planks, or even bamboo stakes.
Bamboo stakes, for instance, can save your plot in a simple way. They are budget-friendly and give a natural feel. Cedar and redwood are good choices as they resist rot.
However, wood will eventually age. It might warp or decay over time. I’ve had to replace wooden edges every few years.
But for a quick, affordable fix, it’s a great option. Simple bamboo stakes saved my plot from a neighbor’s aggressive weeds.
Metal Edging: Sleek and Modern
Metal edging, like aluminum or steel, offers a clean, modern look. It’s very durable and you can bend it. This makes it great for curved beds.
It’s also quite low-maintenance. You don’t have to worry about rot or insects. The cost can be higher than wood.
It can also get hot in direct sun. I’ve seen it used in a lot of contemporary gardens. It gives a sharp, defined line that really stands out.
Plastic Edging: Budget-Friendly and Easy
Plastic edging is widely available and very affordable. It’s lightweight and easy to install. It comes in many styles, some mimicking stone or wood.
However, it’s not as durable as other materials. It can become brittle over time, especially in cold weather. It can also look a bit cheap if not installed carefully.
For a temporary solution or a very tight budget, it’s an option. But I usually lean towards more natural or durable materials.
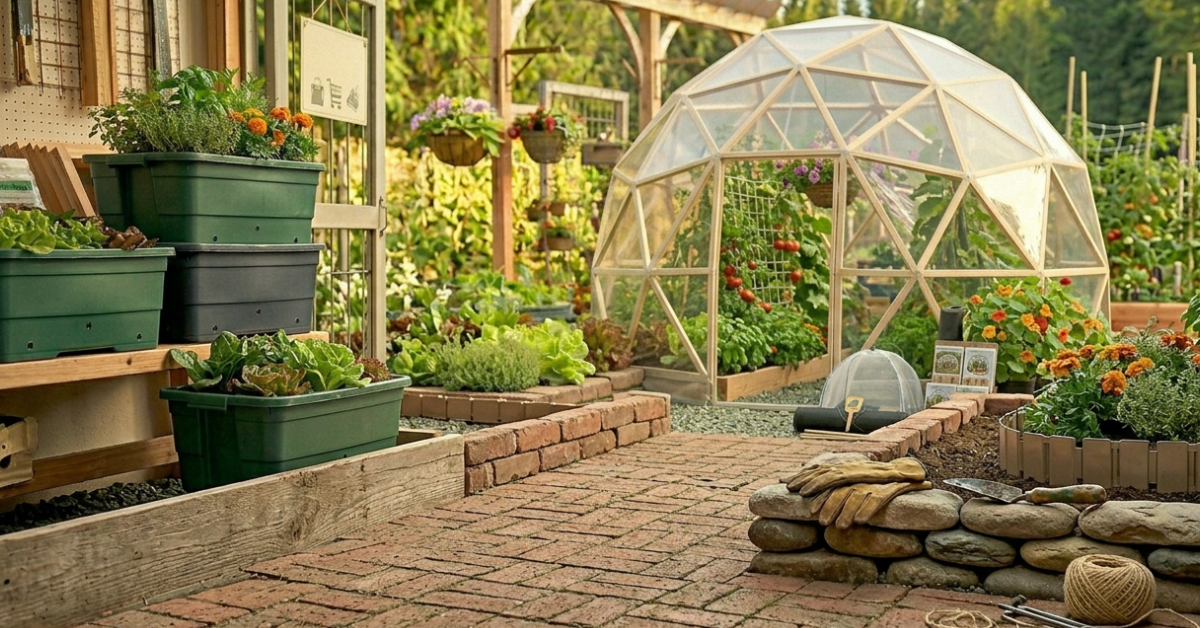
Brick or Paver Edging: Classic and Sturdy
Bricks and pavers offer a classic, sturdy edge. You can lay them flat or on their sides for a taller border. They are very durable and look great.
Installation can be more work. You need a good base so they don’t shift. They can also be pricey.
I’ve seen some beautiful brick-lined pathways and garden beds. It gives a very established feel to the yard.
Designing Your Edges: Curves vs. Straight Lines
The shape of your garden edging makes a big impact. Do you want crisp, straight lines or flowing curves? Both have their place.
Straight Lines: Clean and Formal
Straight garden edges give a sense of order and formality. They work well with geometric garden designs. Think of a formal parterre garden or a minimalist landscape.
They are often easier to install. They provide sharp definition. I sometimes use straight edges for my vegetable plots.
It makes them look very neat. This simple garden edging can tidy up your easy backyard plot.
Curves: Organic and Flowing
Curved garden edges create a softer, more natural feel. They mimic the shapes found in nature. They can make a garden feel more relaxed.
They are great for winding paths or irregularly shaped beds. Installing curves can be trickier. You need to get the shape just right.
But the organic flow can be incredibly beautiful. I’ve found that curved edges really draw you into the garden. They make you want to explore.
Installation Tips for Long-Lasting Edging
Getting your garden edging installed right is crucial. A good installation means it will last longer and look better. I’ve learned this through trial and error!
Prepare the Ground Properly
This is the most important step. You need to dig a trench where the edging will go. Make sure it’s deep enough for stability.
Remove any grass, roots, or rocks. A level base is essential. If you’re using heavier materials like brick or stone, you might need a base layer of gravel or sand.
This stops the edging from sinking.
Digging the Trench: Depth Matters
The depth of your trench depends on the edging material. For most flexible plastic or metal edging, 4-6 inches is usually enough. For heavier materials like stone or brick, you might need to go 8-12 inches deep.
A deeper trench means more stability. It also helps prevent grass from growing over the edge.
Using Stakes for Support
For taller edging, or in areas with soft soil, stakes are a smart idea. You can use rebar stakes, wooden stakes, or metal spikes. Drive them into the ground along the inside or outside of the edging.
Then, attach the edging to the stakes. This adds crucial support and prevents leaning. This is especially useful for curving sections.
Backfilling and Compacting
Once the edging is in place, backfill the trench. Use soil or gravel, depending on your edging type. Tamp it down firmly.
This ensures the edging is secure. It also prevents future settling. I like to walk over it or use a tamper tool.
A solid base makes all the difference.
Comparing Popular Garden Edging Options
Let’s look at how some common edging types stack up.
| Feature | Natural Stone | Wood (Untreated) | Metal (Aluminum) | Plastic | Brick |
|---|---|---|---|---|---|
| Durability | Very High | Medium | High | Low to Medium | High |
| Cost | High | Low to Medium | Medium to High | Low | Medium to High |
| Installation | Difficult (Heavy) | Easy | Medium | Very Easy | Medium to Difficult |
| Maintenance | Low | Medium (Sealing) | Low | Low | Low |
| Aesthetics | Rustic, Natural | Warm, Natural | Sleek, Modern | Variable (Can look cheap) | Classic, Sturdy |
| Best For | Naturalistic gardens | Rustic, Budget beds | Modern gardens | Temporary borders | Formal gardens |
Maintenance For Your Edging
Good edging doesn’t need a ton of upkeep. But a little bit goes a long way.
Cleaning
I usually just sweep or rinse my edging. Dirt and debris can build up. This is especially true for metal or plastic edging.
For stone or brick, a gentle scrub might be needed if moss grows.
Sealing (for Wood)
If you choose wood, consider sealing it. This helps protect it from moisture and sun. It can extend its life significantly.
Checking for Damage
Periodically, just walk around and check your edging. Is anything cracked, loose, or shifting? Addressing small issues early can prevent bigger problems.
This hidden dark timber saved my plot from water run-off damage.
Frequently Asked Questions About Garden Edging
What’s the easiest garden edging to install? Plastic or metal edging is usually the simplest. They are flexible and lightweight. Learn more about easy garden edging…
Which garden edging lasts the longest? Natural stone and brick are incredibly durable. They can last for decades. Discover more about long-lasting garden edging…
Can I use old bricks for garden edging? Yes, absolutely! Reclaimed bricks offer charm and are eco-friendly. Check out this article on repurposing materials…
How do I stop weeds from growing through edging? Ensure a good seal when installing. Consider burying the bottom edge slightly. Learn more about weed-free gardens…
What’s the cheapest option for garden edging? Recycled plastic or basic wooden planks tend to be the most budget-friendly. Find out about affordable garden ideas…