
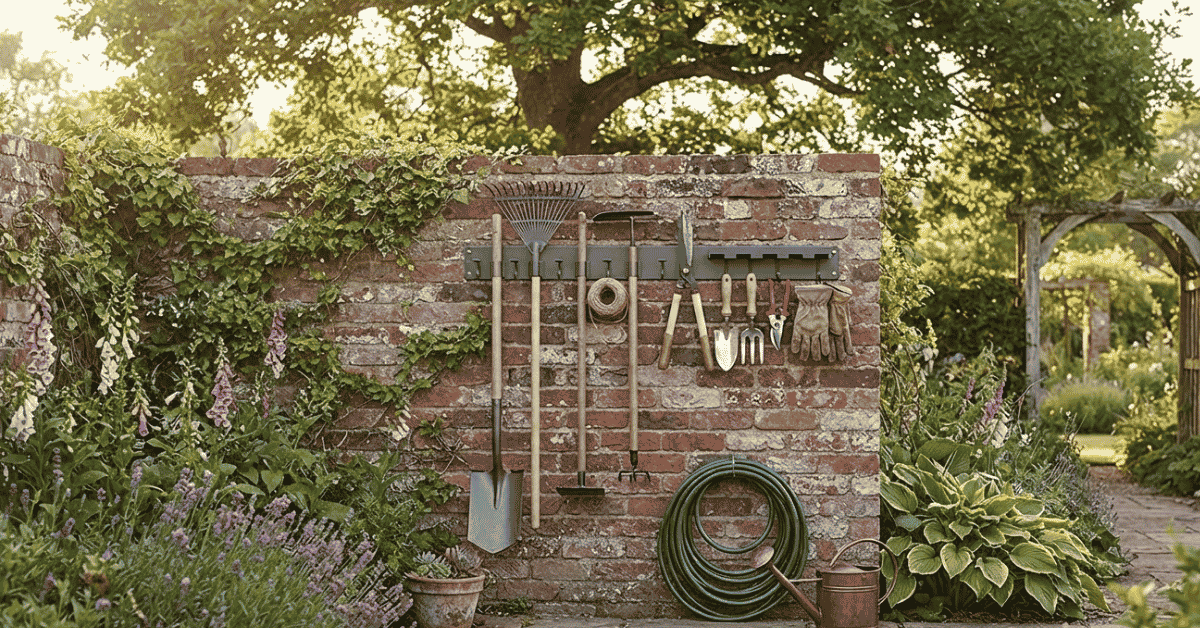
Wall Mount Garden Tool Rack can tame tool mess, save floor space, and keep each tool in reach. Learn smart rack tips, key traits, and easy setup steps.
A Wall Mount Garden Tool Rack can calm a wild shed fast. I learned this after one messy day with my hand tools. A rake fell, then a hoe hit my foot. That small mess made me rethink tool storage. A wall rack may seem plain, yet it can help a lot. This guide shares my best tips, odd finds, and key checks.
Can a Wall Mount Garden Tool Rack Help?
I once kept my tools in one deep bin. It felt neat at first. Yet each task soon led to a hunt. I had to lift six tools just for one hoe. Dirt fell out as each tool came free. The bin grew dark, damp, and hard to clean.
Then I tried a wall rack near my shed door. I felt a bit unsure at first. Could one rack hold my full tool set? The first test went well, much to my relief. Each tool had one clear spot on the wall.
That small change felt far more useful than planned. I could grab a rake with one hand. I could spot my hand fork at once. The rack did not add more floor clutter. It made the shed feel less cramped too.
Life Before I Found This
My old shed had tools on the floor. A rake lay flat near the door. A spade hid by a stack of pots. My hose sat in a heap by one wall.
The air often had that wet soil smell. Dry grit stuck to each tool grip. The floor felt rough beneath my work boots. I kept bumping tools as I walked past.
Some days, I spent five minutes just looking. That may not sound bad, but it adds up. Small delays can turn a fun task dull.
A wall rack gave each tool a set home. That one rule cut much of the mess.
Why This Matters Right Now
Many home yards have less space than before. A small shed may need to serve many roles. It may hold pots, soil, tools, and lawn gear. Floor space can vanish quite fast.
A wall rack makes use of spare wall space. That can free room near the floor. It can also help keep tools off wet ground.
Safe tool storage matters too. Loose tools can cause trips or falls. Sharp blades need a set place out of reach. A rack can help keep tool heads off paths.
I also like the time it can save. Less hunt means more time for the yard.
The First Big Lesson
The key lesson is not size or style. It is fit.
A rack must suit the tools you own. A long rake needs more room than a hand trowel. A heavy spade needs a firm hook or slot. A small rack may look neat but fail in use.
I now sort tools by size first. Long tools go on one side of my rack. Short tools stay near the top or side. Heavy tools get the most firm hooks.
I also check the wall type first. Wood studs can give a strong base. Drywall needs the right wall plug or anchor. Brick and block walls need the right bit and fastener.
The rack should stay still under load. A loose rack can turn a neat plan bad. I give each hook a firm test by hand.
Small Tactics That Actually Work
I use a few small rules with wall racks now. These rules help more than fancy rack tricks.
First, keep often-used tools near the shed door. This cuts steps each time I work.
Next, hang tools with heads facing the same way. That gives the wall a clean, calm look. It also makes each tool easy to spot.
I leave gaps near long tool grips. Tight rows can make tools hard to grab. A bit of air can help a lot.
I also wipe wet tools first. Damp dirt can stain walls and rack parts. A quick wipe takes less than one minute.
Last, I mark each rack spot in my mind. Each tool has one home. That makes clean-up much less hard.
A Strange Detail I Noticed
I found one odd thing after using my rack. Tools seem less dirty when stored up high.
That sounds strange, but I saw it often. Floor tools picked up dust and shed grit. Their heads could also touch wet spots.
Wall tools stayed clear of that mess. Their blades dried with more air flow. Their grips also stayed less grimy.
I also found a fun side gain. I began to notice tools I had lost. A hand saw had sat behind old pots for weeks. A rack made that sort of loss less likely.
The wall had become a small tool map. Each shape stood out at a glance.
Style Comparison & Data
Not all wall racks work in the same way. Some use hooks, while some use slots. Some suit light tools best. Others can hold large yard gear.
| Rack Style | Best For | Main Plus |
|---|---|---|
| Hook Rack | Rakes and hoes | Easy grab |
| Slot Rack | Mixed tools | Neat rows |
| Rail Rack | Many tool types | Easy to shift |
| Peg Rack | Light hand tools | Low cost |
I tend to like rail racks for mixed sets. They give me room to change tool spots.
Non-Obvious Gains
A good rack can offer more than neat looks.
- It can help tools dry after rain.
- It can cut floor dust on tool heads.
- It can make lost tools less common.
- It can make shed clean-up feel less hard.
- It can free room for bins and pots.
- It can help kids see tool zones with ease.
- It can make tool checks much more quick.
- It can help spot worn tools at once.
That last gain stands out to me most. A set wall lets me see each tool.
A bent hook or cracked grip is easy to miss. A clear wall makes such flaws stand out.
Myths vs. My Reality
I used to think a wall rack had to look sleek. I thought style came first. But then my old rack got full in days.
I learned that fit beats looks in real use. A plain rack can work quite well. A sleek rack can fail with one bad hook.
I also used to think more hooks meant more value. But then I saw spare hooks go unused. Too many spots can add noise to a wall.
I used to think one rack could hold all tools. But then my tool set grew. Now I plan by tool type and size.
I guess the best rack is not the flashiest. It is the one that fits your real work.
Essential Principles for Mastery
A good wall rack plan starts with a tool count. Lay each tool on the floor first. Group long tools, short tools, and odd tools.
Next, check your wall space with care. Look for studs, pipes, wires, and doors. Keep the rack clear of door swing paths.
Then check the rack load limit. Heavy tools need firm hooks and screws. Never trust weak wall plugs for heavy loads.
Keep key tools at a safe height. Sharp tool heads should not face walk paths. Grips should be easy to reach with one hand.
Leave some spare room for new tools. I like keeping two or three spots free. That gives me room for growth.
Clean the rack once each month. Wipe dust, check screws, and test hooks. Small checks can stop big rack faults.
Most of all, use the rack each day. A rack only helps if tools return home. That habit is the true key.
FAQs about Wall Mount Garden Tool Rack
Can a wall rack hold heavy garden tools?
Yes, but the wall and rack must suit the load. Use firm screws and proper anchors for your wall type. Heavy tools should sit on strong hooks or rails that stay firm.
Is a wall rack good for a small shed?
Yes, a wall rack can save key floor space. It lets you use wall space for tool storage. That can leave more room for pots, bins, soil bags, and boots.
Can I mount a rack on drywall?
You can, but the fastener choice matters a lot. A rack tied to studs gives strong support. For plain drywall, use anchors rated for the load you plan to hang.
Should long tools sit high or low?
Long tools should stay at a safe, easy reach. Their heads should not face a walk path. Keep them in slots or hooks that stop them from falling.
How many tools can one rack hold?
The rack size and load limit set the safe count. Do not judge by hook count alone. Heavy tools need more space and stronger support than light hand tools.
My Final Takeaway
A Wall Mount Garden Tool Rack is not just for looks. It can make a shed feel calm and safe. I like the sound of one tool lifting cleanly from its hook. No bin hunt. No floor mess. No bent rake under a pot.
Start with the tools you use most. Pick a rack that fits them with room to spare. Then give each tool one home. That small habit can change your whole shed.